Apple Hand Pies
on Aug 10, 2020, Updated Oct 20, 2020
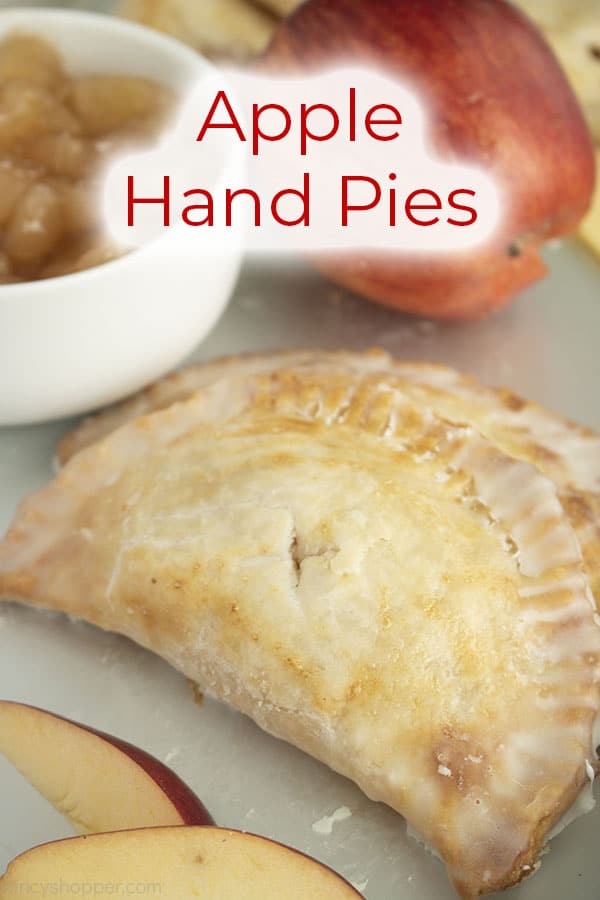
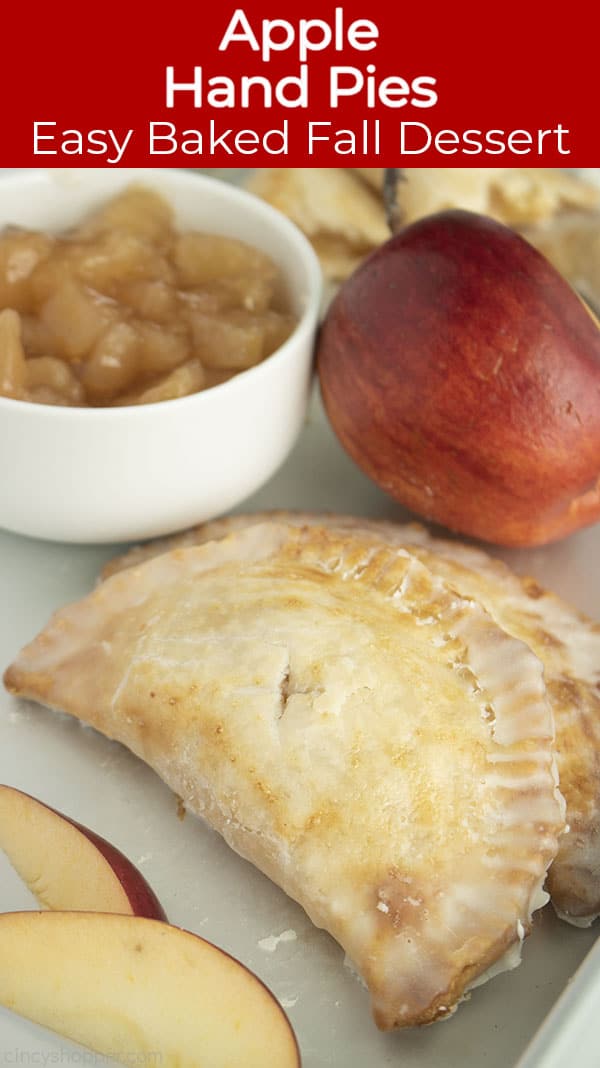
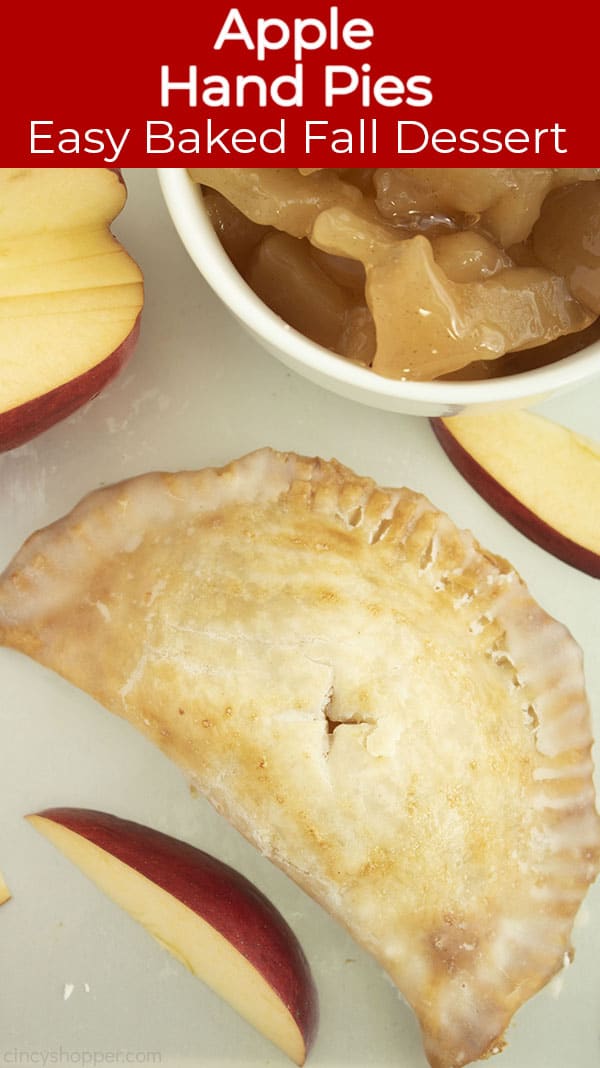
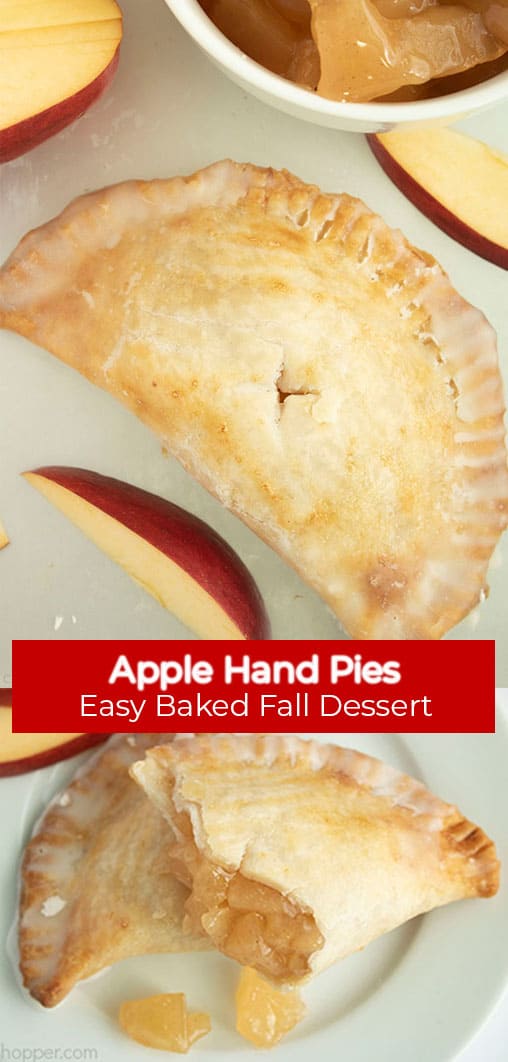
Apple Hand Pies are a sweet, oven-baked breakfast, snack, or dessert. This apple dessert recipe is quick and easy to make.
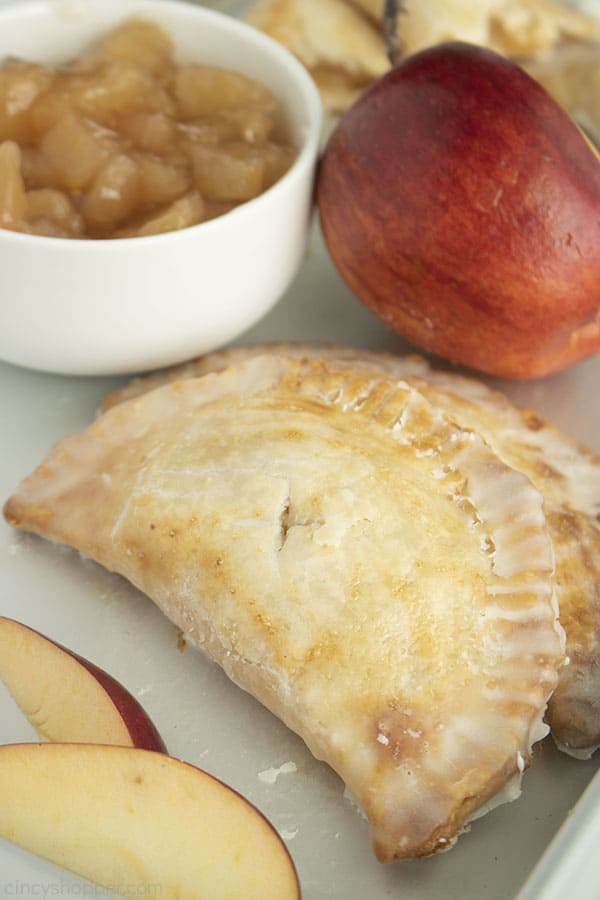
Apple Hand Pies
Got another sweet apple snack for all you folks today! We’ve made all sorts of mini apple sweets in recent weeks using different kinds of doughs and crusts. It only just occurred to us that we haven’t made anything with some good, old-fashioned pie crusts! We’re kind of surprised it took us this long to come up with something- who doesn’t love apple pie, right?
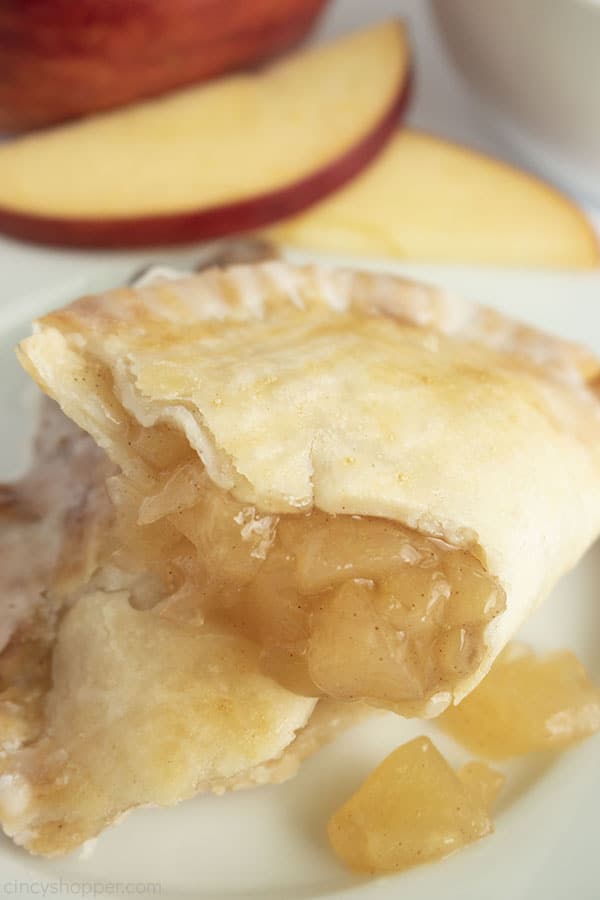
These little snacks give you all those delicious flavors you get from a whole apple pie but in a smaller, easier-to-make form. These pies are baked, not fried! We made things even easier by reaching for refrigerated Pillsbury pie crusts and canned apple pie filling.
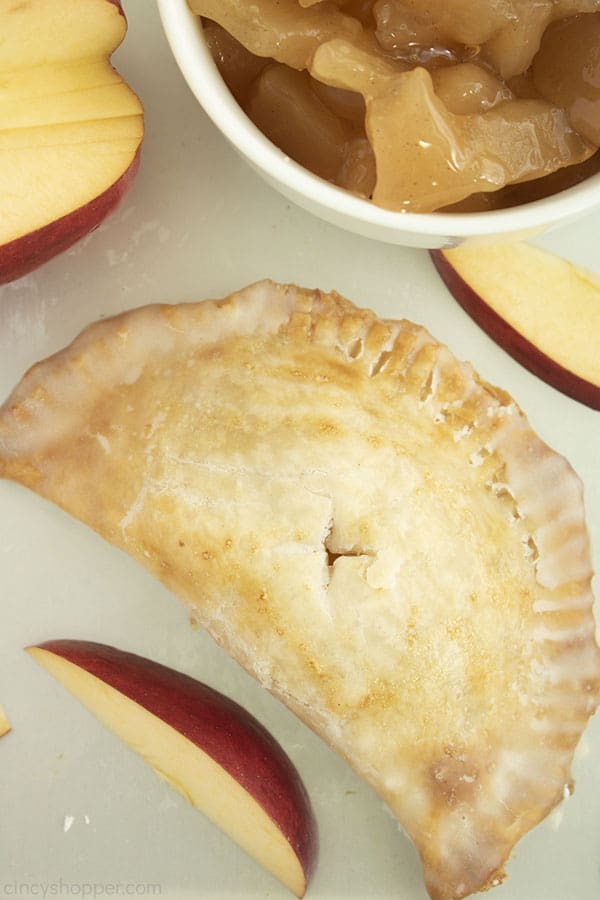
All these preprepared ingredients take a lot of the effort out of making this recipe- making the whole thing a quick and simple affair. The perfect thing to make in batches and have ready for a quick, sweet breakfast on those busy mornings.
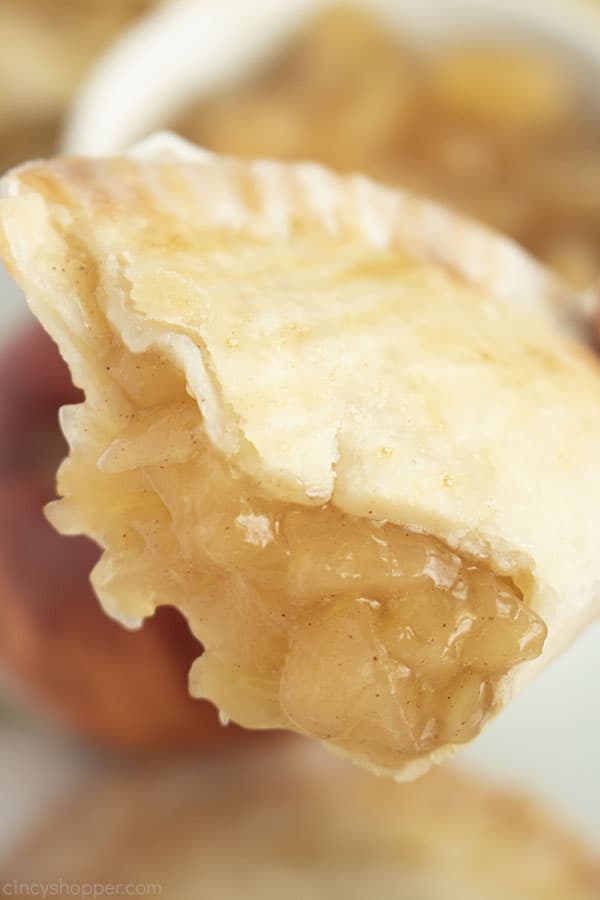
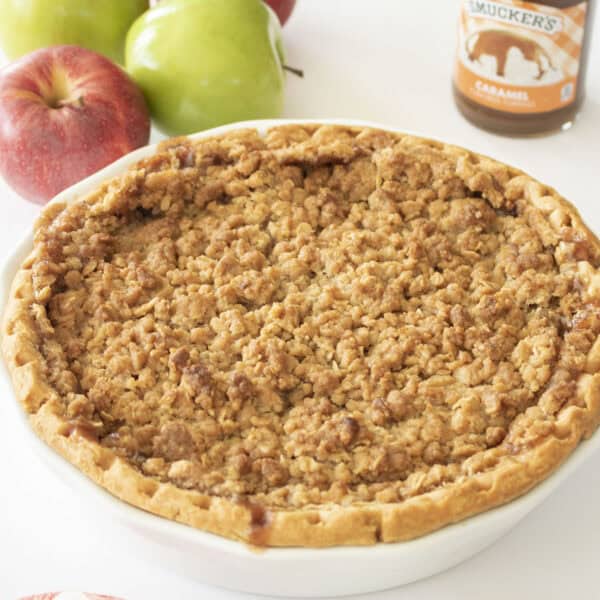
We’ve got plenty of other apple-filled treats you’ll want to try out. For another bite-sized snack, give our Apple Pie Bites a taste. Sweet pie filling meets buttery crescent roll dough! For a real “mini apple pie,” check out our Caramel Apple Pie Cookies– a delicious, pie-spiced treat! If you’re in the mood for the whole pie, we’ve got you covered! Our Dutch Apple Pie is comforting sweet pie you’re certain to love!
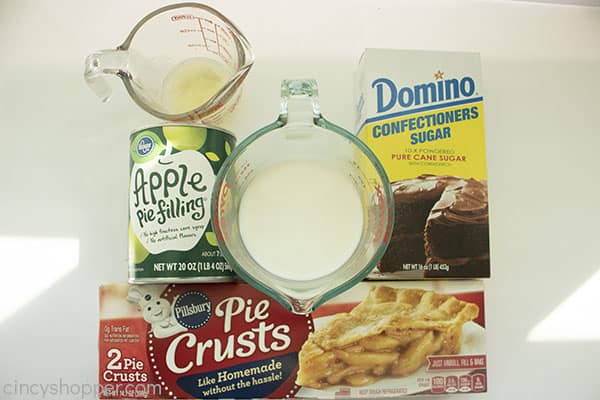
Ingredients for Hand Pies
-
Refrigerated/Boxed Pie Crust – To make this recipe feel really “from scratch,” try making up some of our Easy Pie Crust. Cook times may have to be slightly adjusted.
-
Canned Apple Pie Filling – Like we always recommend, try this recipe with our Homemade Apple Pie Filling! Helps give this convenient recipe a real “homemade” feel.
-
Melted Butter
-
Milk & Confectioner’s Sugar – For a simple glaze we’ll use at the end.
How to prepare our Mini Apple Pies
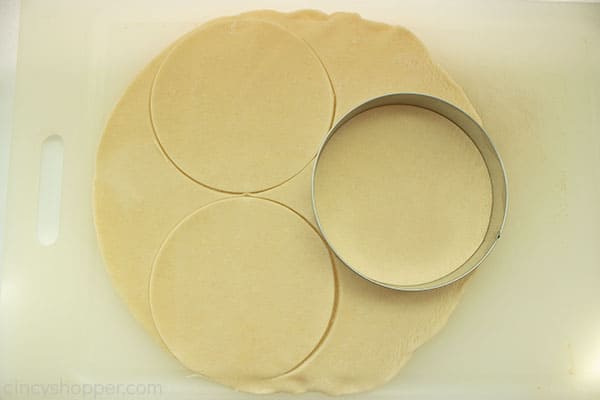
Start by preheating your oven to 425 degrees and getting all your ingredients ready. Take your apple pie filling and dice it real small- we don’t want big chunks of apple. After that, get your pie crusts out from their box and start cutting rounds- aiming for about 5 inch wide circles.
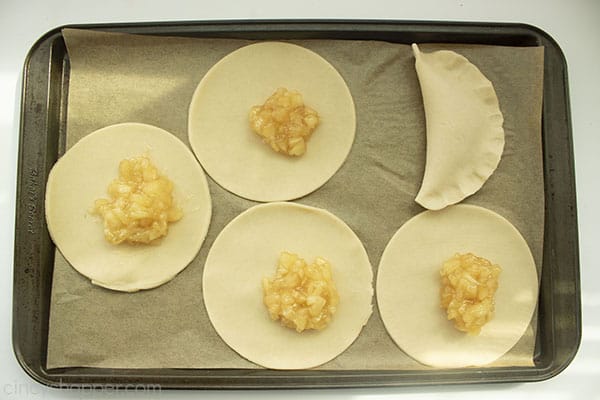
Prepare a baking sheet by lining it with some parchment paper. Transfer your crust rounds over to this baking sheet and start filling them with your chopped pie filling. Make sure you don’t overfill these- you want to be able to fold and pinch your hand pies shut. A wet finger will help with sealing. Crimp the edges for a little extra decorative flair!
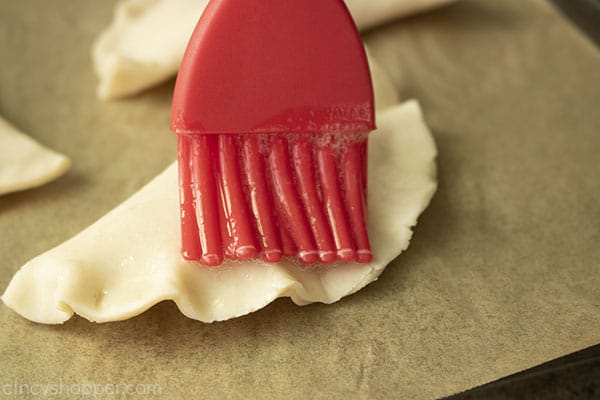
Before you toss these sweets into the oven, get some butter melted. Brush your hand pies down with your melted butter. That’ll give them a little extra buttery flavor and help with crisping. Add a little X with a knife to the top of each mini pie to keep them from bursting.
Time to send our pies into the oven! Pop them into the oven and let them bake- it should take about 20 minutes. Keep an eye on them- don’t want them to burst- and pull them when they reach a golden brown color.
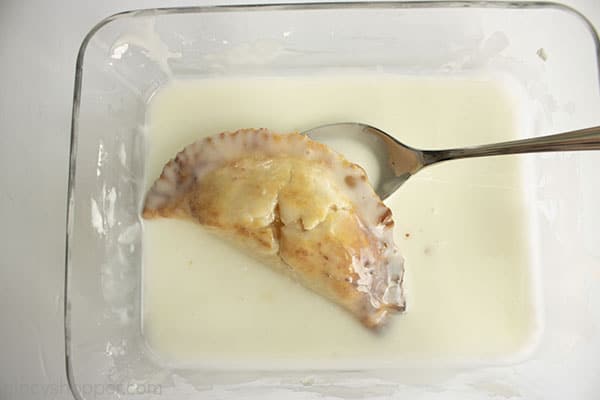
When your pies finish baking in the oven, it’s time to hit them with a delicious and simple glaze. Mix your milk and powdered sugar in a bowl large enough for you to dip your hand pies into. Once that’s blended to a glaze, give your warm hand pies into the glaze one-at-a-time. Turn each one over to get both sides coated. Once glazed, return to the baking sheet to allow the glaze to set.
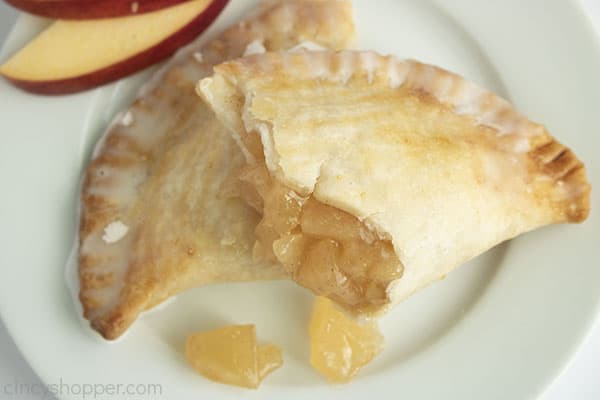
How to Serve
You can enjoy these sweets either hot or cold. On top of that, they’re perfect for packing as part of your lunch- a sweet dessert to enjoy at the end of your meal! While we personally did not try freezing these, I’ve seen multiple recipes online that mention folks freezing theirs. If anyone has tried this out with our recipe, report back to us in the comments- let us know how it went!
Apple Hand Pies
Ingredients
- 10 oz Apple Pie Filling, chopped
- 2 refrigerated Pie Crusts
- 2 tbsp melted Butter
- 4 tbsp Milk
- 1 1/2 cup Powdered Sugar
Instructions
- Line baking sheet with parchment paper. Set aside.
- Preheat oven to 425.
- Cut smaller circles from pie crusts (I used 5" cutter).
- Gather and roll excess dough to make more circles.
- Place crust circle on prepared pan.
- Divide filling evenly and place in center of dough.
- Dip finger in water and run around edge of dough to help seal.
- Pinch edges to finish sealing. You can also use a fork on the edges to seal.
- Brush with melted butter.
- With a knife, cut two small slits on top to make an "X"
- Bake for 20 minutes until golden brown. Allow pies to cool for about 5 minutes.
- In a dish just large enough to hold the hand pies, whisk together milk and powdered sugar until blended.
- Dip each pie in glaze and turn to coat both sides.
- Return to sheet to allow glaze to set.
Nutrition




OMG these are amazing,thank you so much for the recipe.I used cherry pie filling as my hubby loves cherry.May I ask where you got the cutter for the pies?I couldn’t find any that size at my store!
Can you use fresh apples in this. & what spices would use. Thank you
Looks yummy, I will be making these!!
These look delicious! I can hear the crunch of the crust in my mind. Thanks for sharing!
I saw your link on the Wine’d Down Wednesday link up. These look delicious! Pinned for later!
These look so tasty! I will be saving this recipe for the fall when I get a lot of apples from the orchard :)
Jenna ♥
Stay in touch? Life of an Earth Muffin