Spinach Christmas Tree Appetizer
on Nov 30, 2022
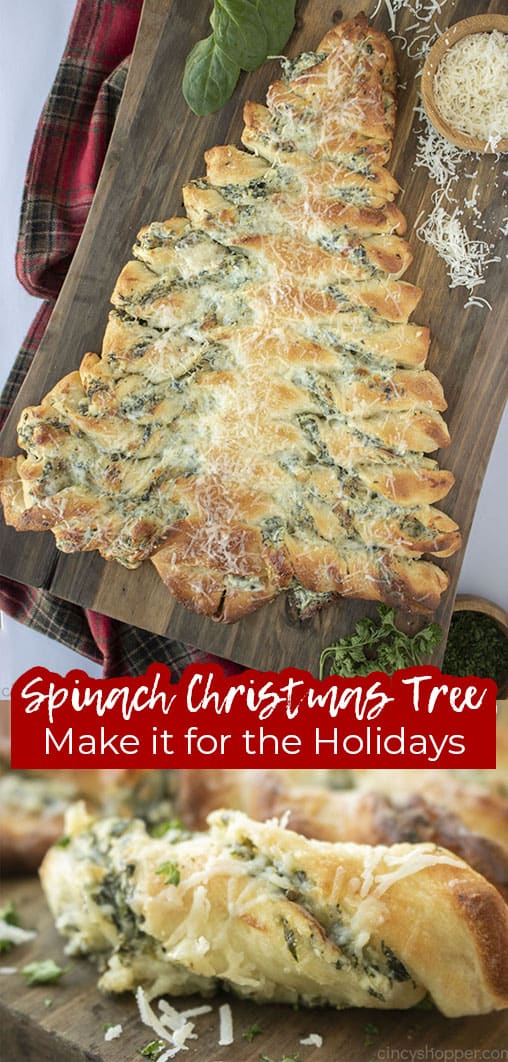
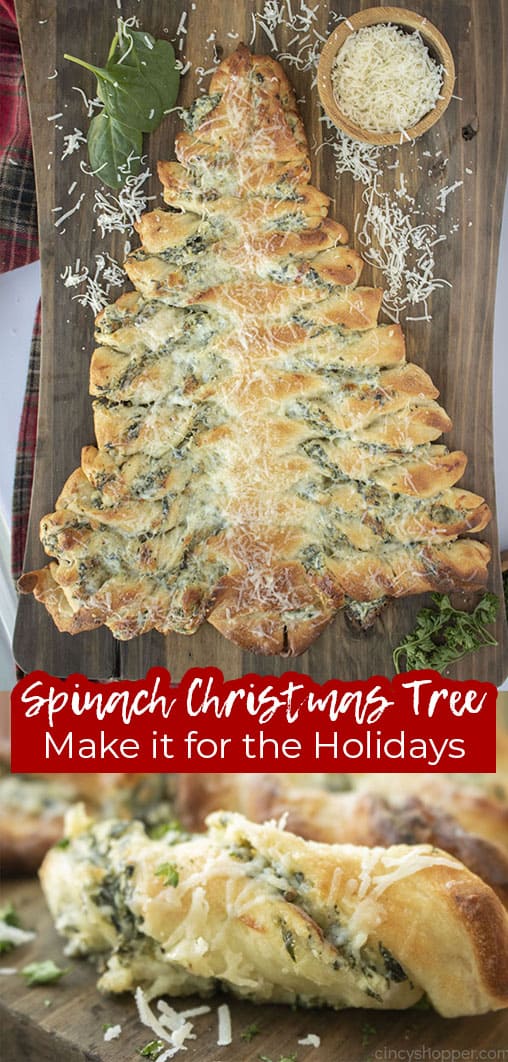
Our Spinach Christmas Tree Appetizer is a rich, creamy and cheesy party snack that’s a real crowd-pleaser. Make this one for the holidays!
Here’s a Christmas Tree that everyone’s certain to love! These spinach dip breadsticks are best served while they’re still hot and creamy- perfect for any holiday parties you’ve got coming up.
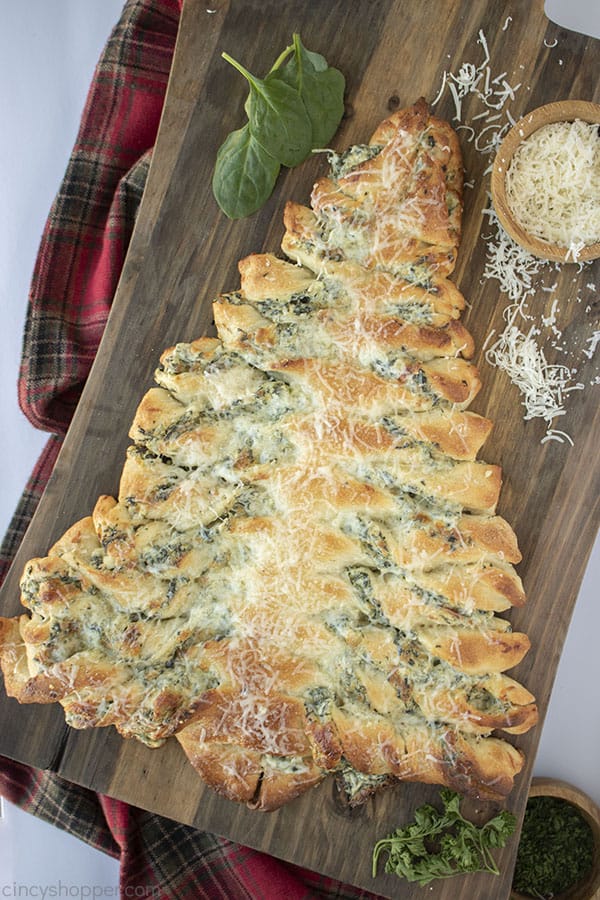
Spinach Christmas Tree Appetizer
If you need a nice, festive appetizer for any upcoming holiday parties, we’ve got you covered! This Pull Apart Christmas Tree uses some refrigerated pizza dough and some spinach dip to make a delicious and festive appetizer. Once it’s finished baking, you’re left with some buttery and oh-so cheesy spinach dip breadsticks.
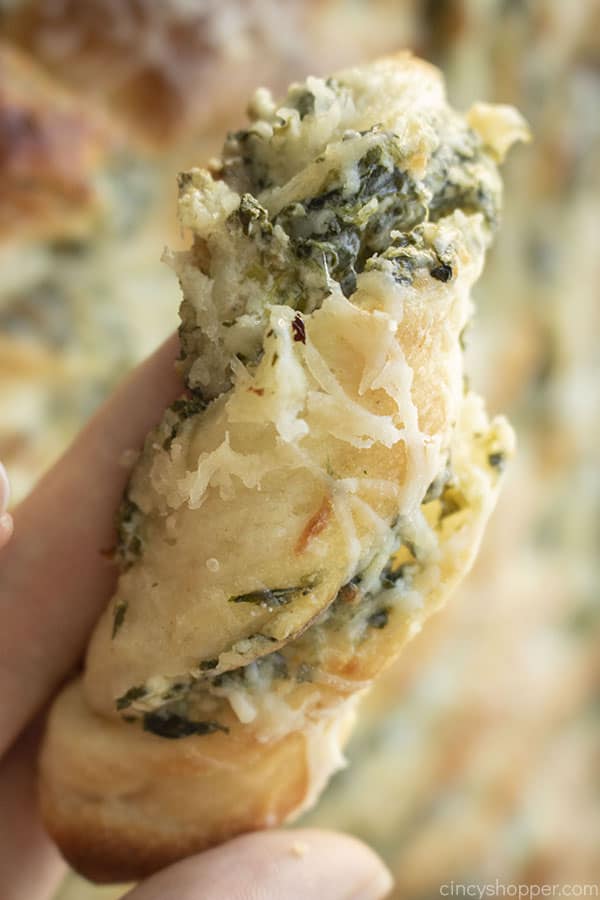
Don’t be surprised if your guests eat this tree down to it’s stump! We hope this baked Christmas Tree becomes a favorite of yours and you make it up time and time again. Hope you love it- we sure did!
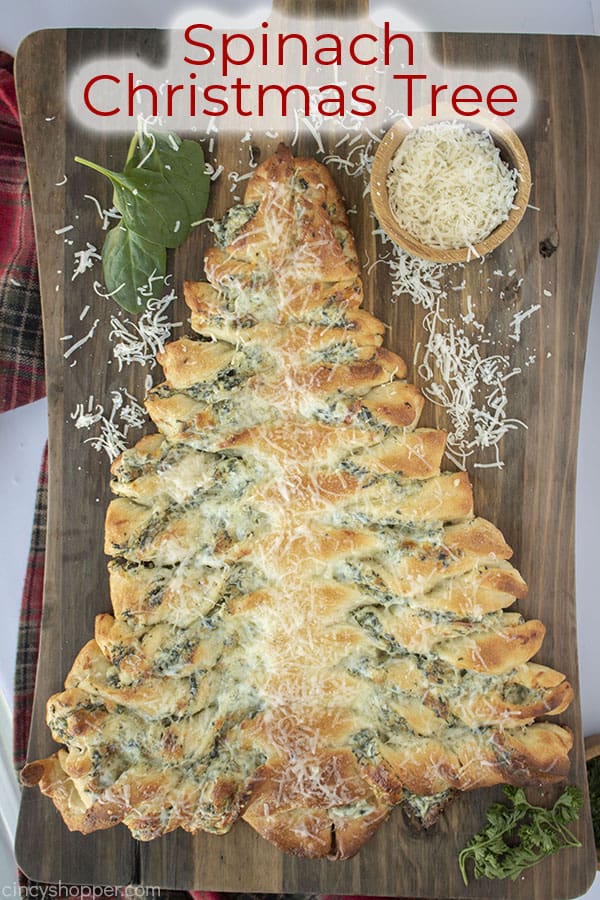
Enjoyed these Christmas tree breadsticks? Try these veggie appetizers next!
-
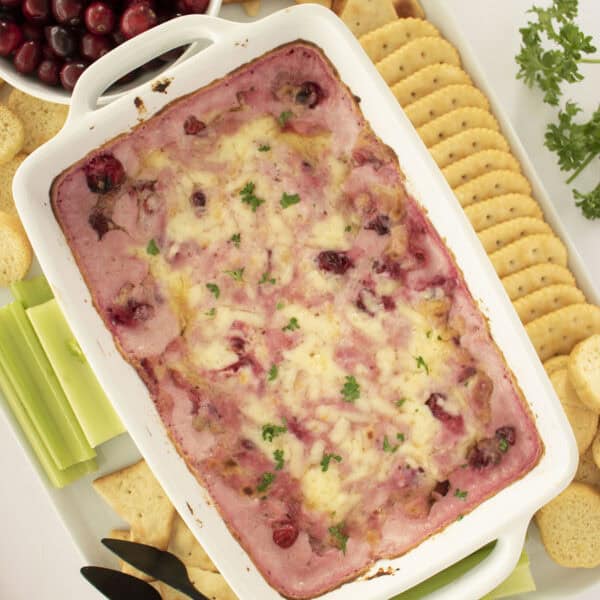
If you love the filling in this Christmas Tree, you’ll love our Hot Spinach Dip. It uses a similar set of ingredients but still gives you all these gooey cheesy flavors! Baked to perfection with a crisp, broiled top.
-
For another festive, holiday shaped appetizer, we’ve also got our Veggie Christmas Tree Appetizer. Broccoli, tomatoes, cauliflower, and a cheddar cheese star come together for this fresh, decorative spin on the classic veggie tray. Perfect with a bit of ranch dip off on the side!
-
If you’re a fan of a simple caprese salad, then our Caprese Pastry Bites are something you’ll love! By nestling some mini salads in some puff pastry, you get a delicious and easy appetizer that picks up some lovely roasty flavors from the oven. Easy to make by the batch and serve up to any guests!
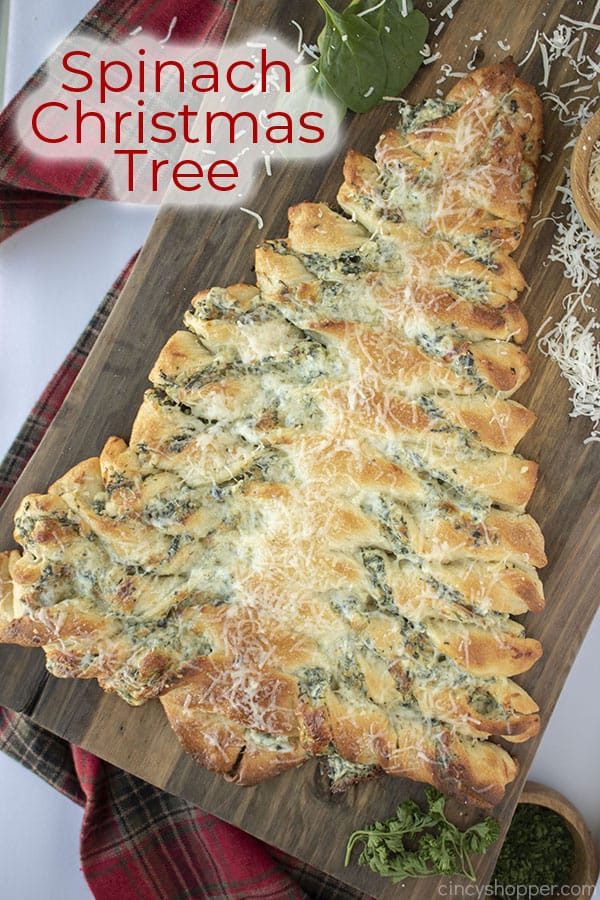
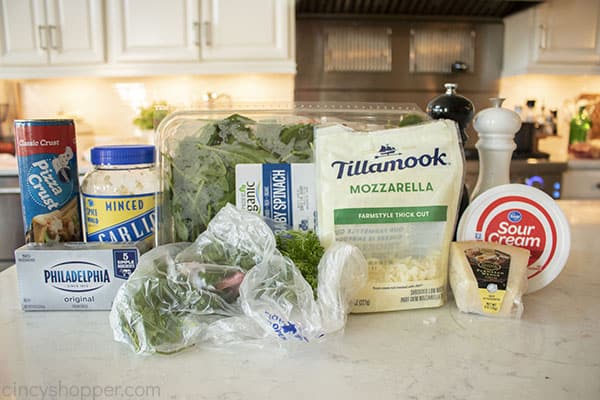
Ingredients for our Christmas Tree Spinach Dip Breadsticks
-
Spinach, chopped
-
Sour Cream
-
Cream Cheese
-
Minced Garlic
-
Salt & Pepper
-
Parmesan, grated
-
Mozzarella
-
Parsley
-
Pizza Crust – You can either buy some refrigerated dough from the store or use our Homemade Pizza Dough Recipe! Feel free to experiment and try using some crescent dough or some puff pastry- tell us how it works out if you try it.
-
Butter
How to make our Pull Apart Christmas Tree
The first thing you have to tackle with our recipe is making up a quick spinach dip. To do that, mix together cooked, moisture squeezed out chopped spinach, sour cream, cream cheese, garlic, salt & pepper, and some of your parmesan and mozzarella. Do this with a hand or stand mixer.
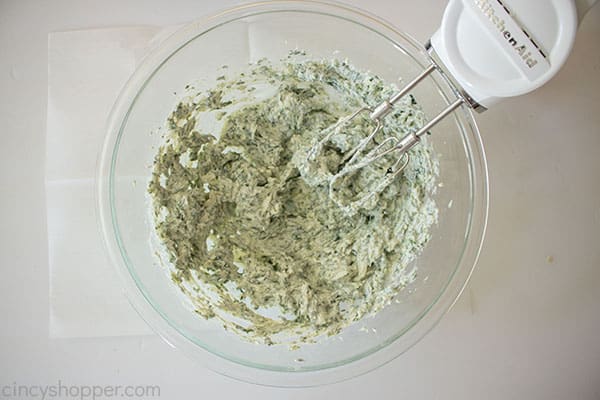
Set your dip off to the side while we get our tree prepped and shaped. First, roll out your pizza dough and cut a large triangle out of it. This will leave you with one large triangle and two smaller ones.
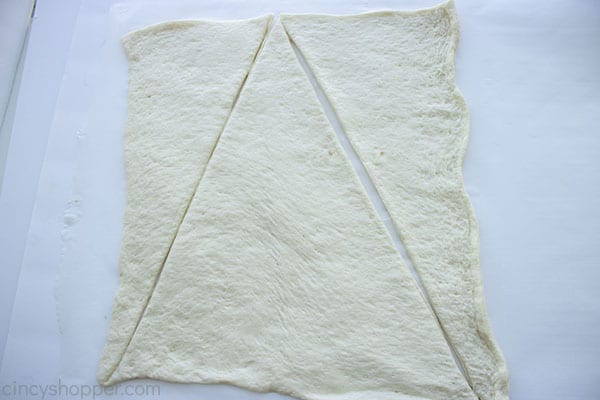
Leave the large triangle on some parchment paper and transfer the two smaller ones to a greased or parchment-lined baking sheet. We’re going to pinch these two smaller triangles together to form the base of our tree. It doesn’t have to look pretty- this is going to be the bottom.
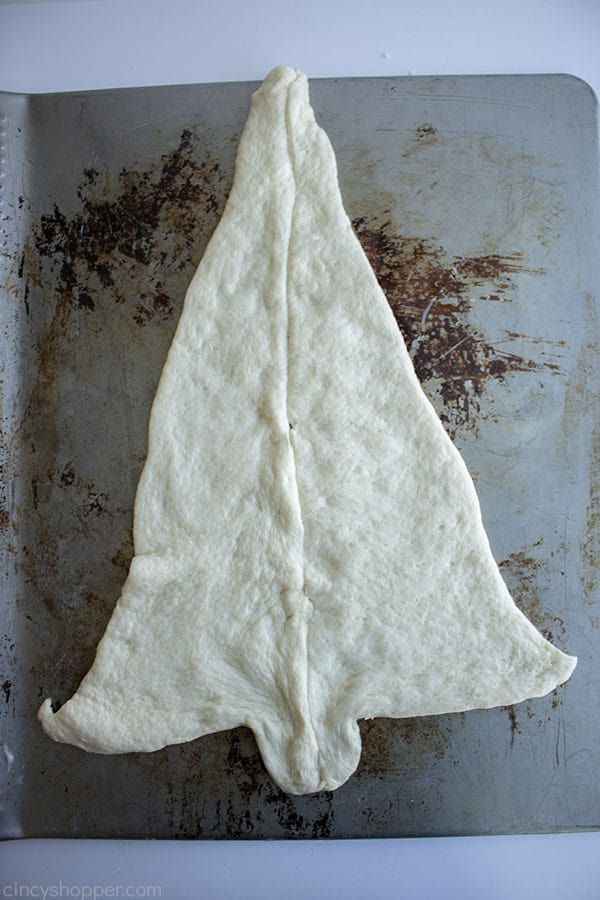
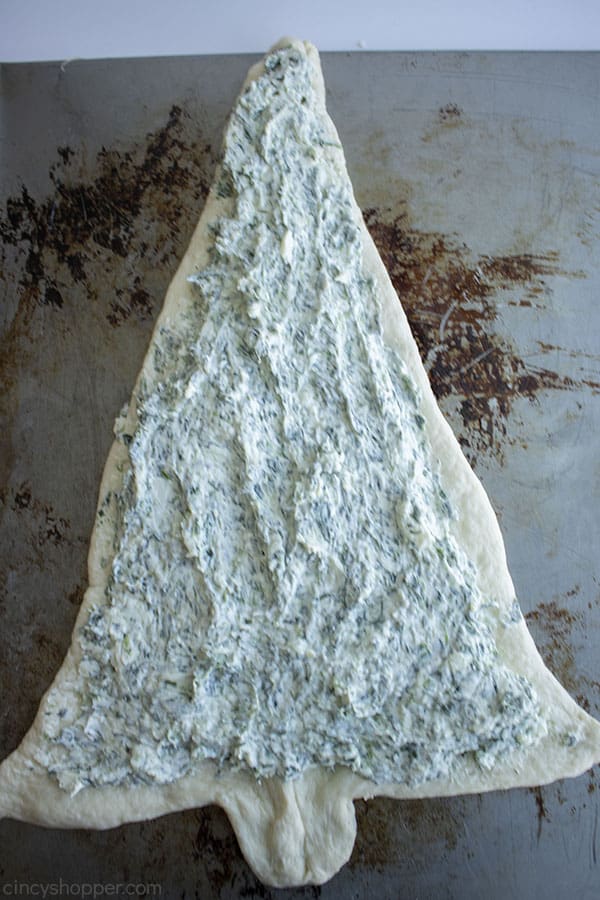
With the base of our Christmas tree made, we can start spreading our spinach dip over it. Make sure you get nice, even coverage here.
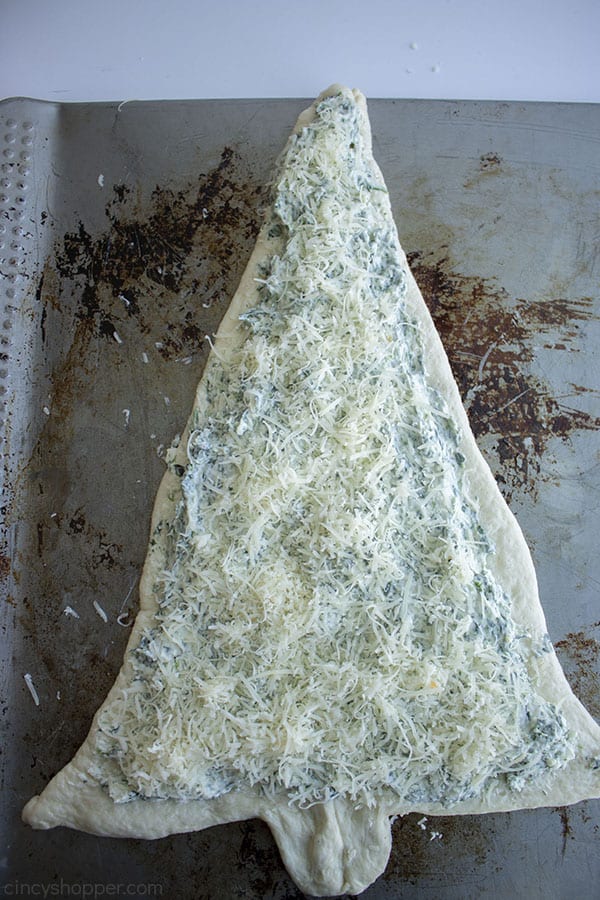
While we’re here, sprinkle a little extra parmesan over your dip.
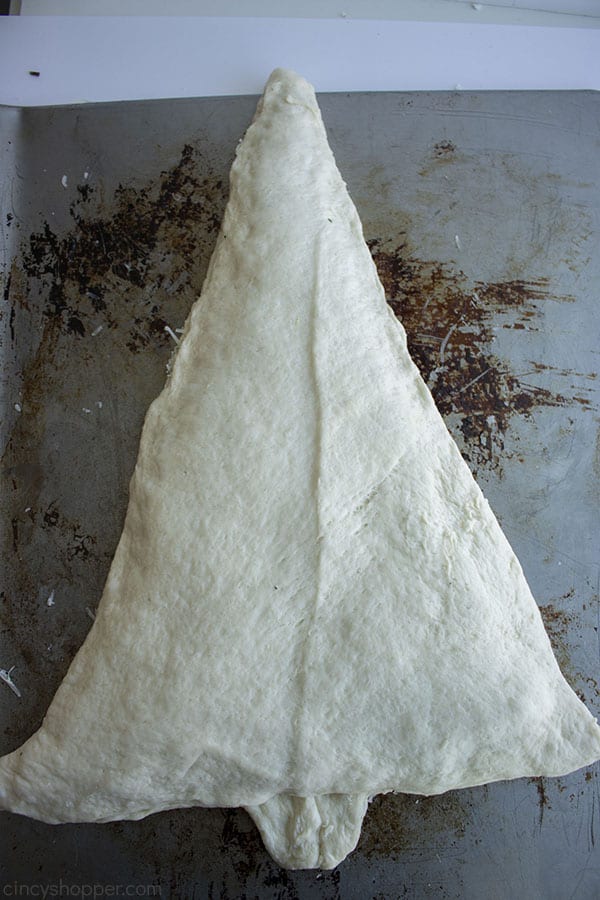
Now take that larger triangle from earlier and place it over our dip-covered tree.
Time to make our tree branches. Use something like a pizza cutter to start cutting inch-wide strips as shown above. You’ll likely end up making about 11 branches here. Make sure you don’t cut through the center!
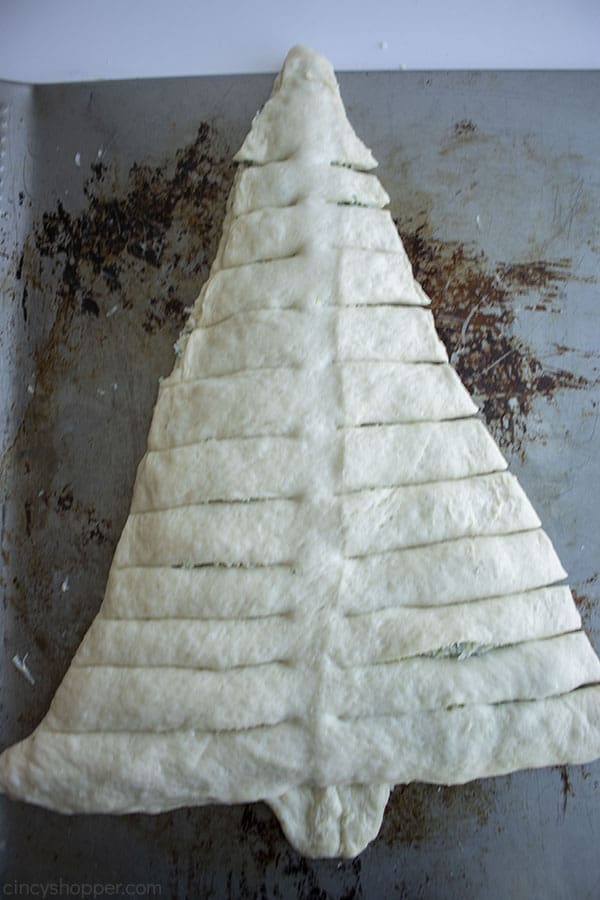
To finish our branches off, we’re going to give them a little twist. Don’t worry if your tree is looking a bit scrawny- it’ll puff up a bit in the oven!
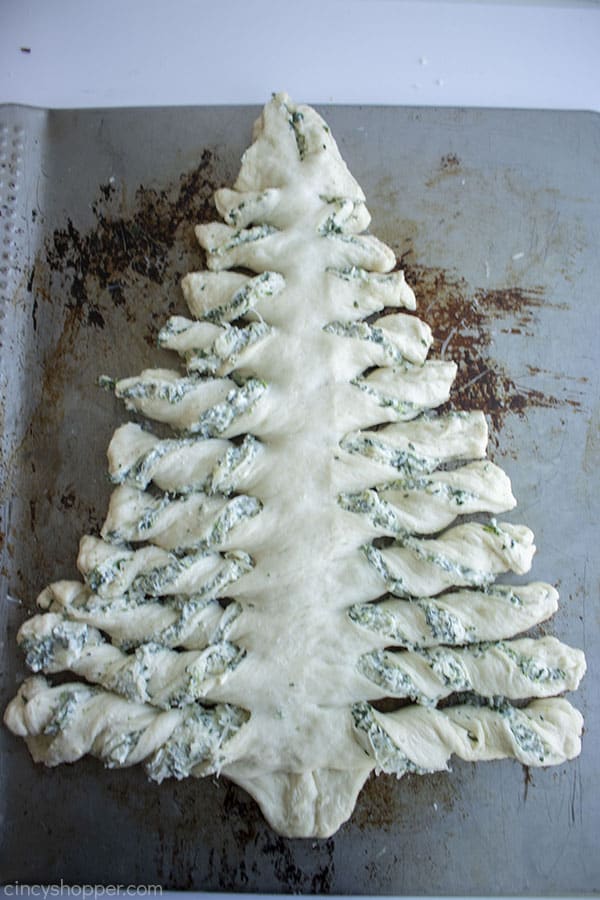
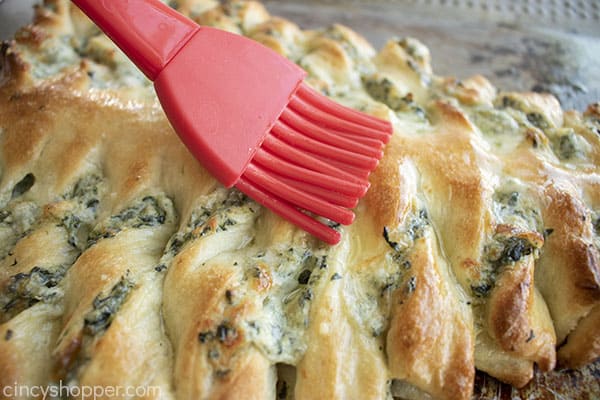
Now we can get this tree baked. Pop it into a 400 degree oven and allow it to bake for about 10 minutes before rotating the sheet and letting cook for another 6 minutes. At this point, pull it from the oven and give it a quick brushing with some melted garlic butter.
A little bit of extra parm!
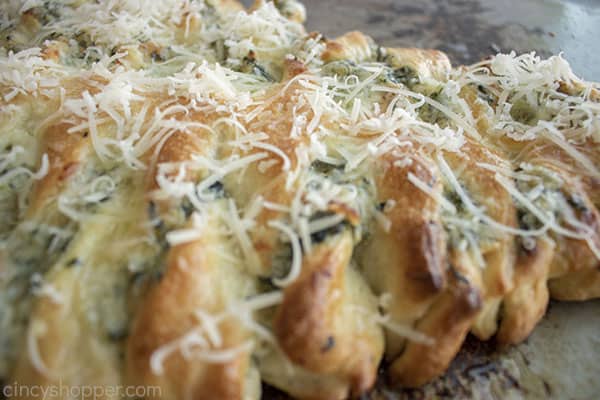
Return your tree to the oven and bake for another 3 minutes or until the tree is a golden brown. Pull from the oven, garnish with some freshly chopped parsley and serve while still warm. Enjoy!

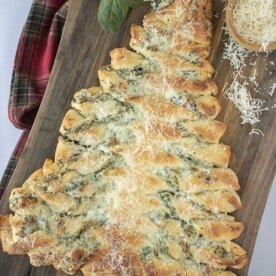
Spinach Dip Christmas Tree
Ingredients
- 6 oz fresh Spinach
- 5 oz Cream Cheese, softened
- 1/2 cup Sour Cream
- 3/4 tsp minced Garlic, divided
- 1/4 tsp Salt
- dash Black Pepper
- 1 cup Parmesan Cheese grated, divided
- 1 cup shredded Mozzarella Cheese
- 3/4 tbsp Parsley, chopped
- 1 Pizza Crust
- 4 tbsp Butter, melted
Instructions
- Preheat oven to 400.
- In a medium skillet heat a teaspoon of olive oil over medium heat.
- When hot, add spinach and cook until wilted and hot.
- Squeeze out moisture and chop spinach.
- In a large bowl combine spinach, cream cheese, sour cream, 1/2 teaspoon minced garlic, salt, pepper, 1/2 cup parmesan cheese and the mozzarella cheese until combined.
- Set aside.
- First, roll out your pizza dough and cut a large triangle out of it. This will leave you with one large triangle and two smaller ones.
- Leave the large triangle on some parchment paper and transfer the two smaller ones to a greased or parchment-lined baking sheet. We're going to pinch these two smaller triangles together to form the base of our tree. It doesn't have to look pretty- this is going to be the bottom.
- Evenly spread the prepared spinach dip over this triangle.
- Distribute 1/4 cup of shredded Parmesan over spinach dip.
- Now take that larger triangle from earlier and place it over our dip-covered tree.
- Use a pizza cutter to start cutting 1" wide strips on each sidee. You'll likely end up making about 11 branches here. Make sure you don't cut through the center.
- Give each branch a twist.
- Bake at 400 for 10 minutes.
- Rotate sheet and bake another 6 minutes.
- In a small bowl, combine the melted butter and 1/4 teaspoon of minced garlic. Mix to combine.
- Brush the tree with the garlic butter mixture.
- Sprinkle with the remaining shredded parmesan.
- Return to oven to cook until golden brown (about 3 minutes).
Nutrition




That looks so cute and sounds so delicious!
Love your recipes! Don’t know how you have the time.
How do you transfer it from the cookie sheet to the cutting board?
This was AMAZING. My fiancé got a little confused/frustrated with the instructions when it came to step 7-8. But thankfully for the pictures we were able to figure it out☺️ we’ve made it 2x more since.