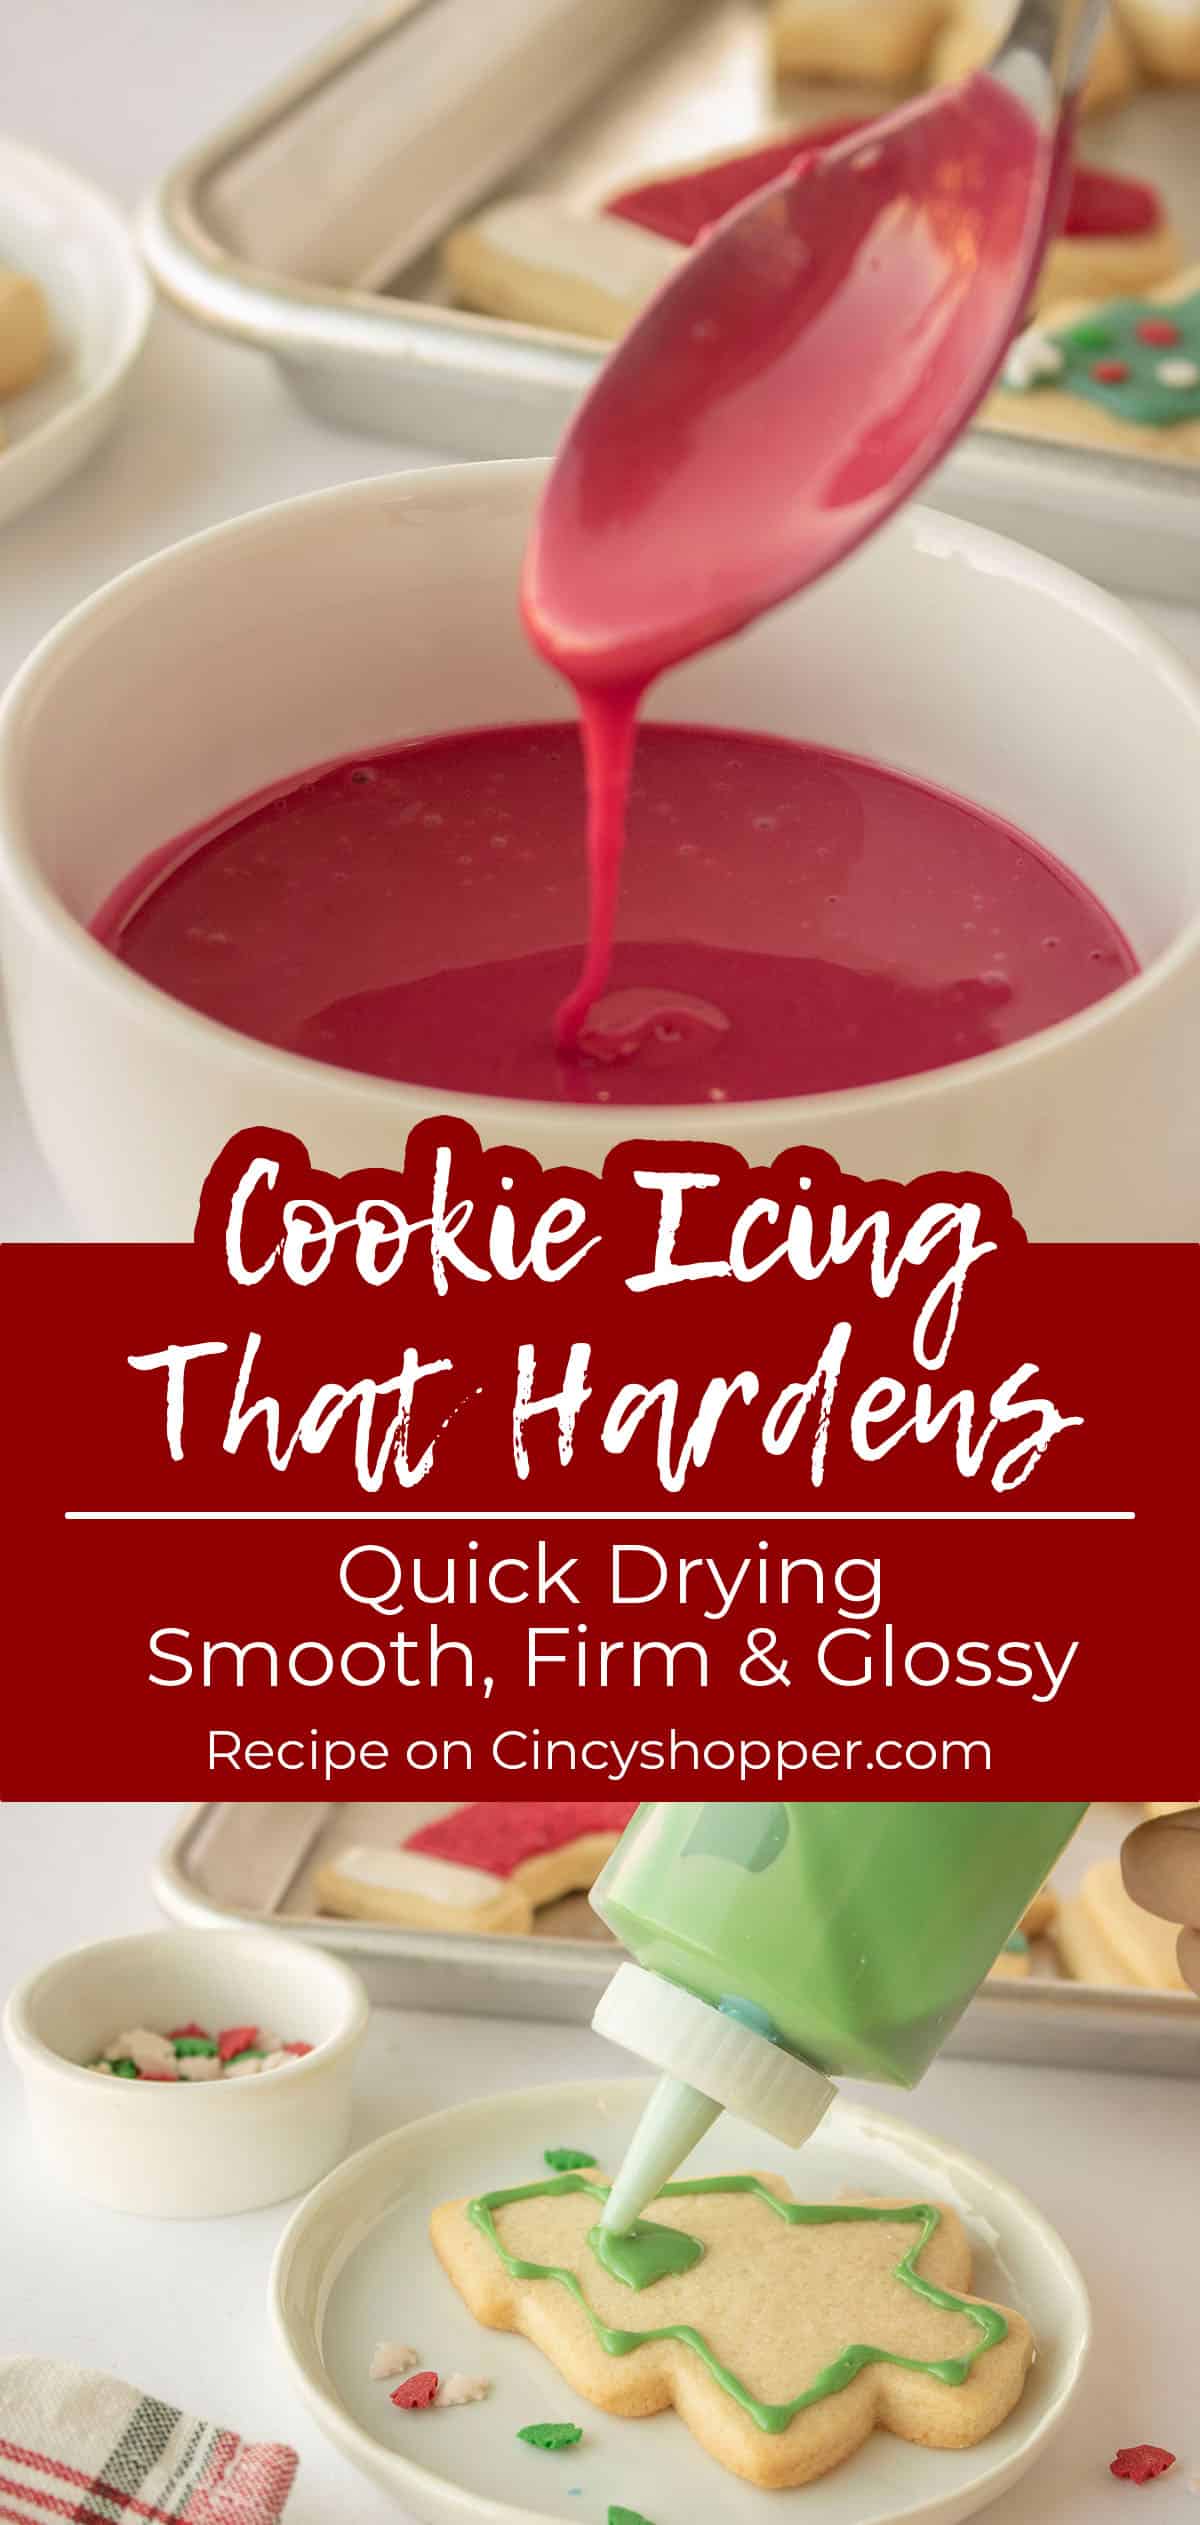
Cookie Icing that Hardens
on Nov 14, 2025

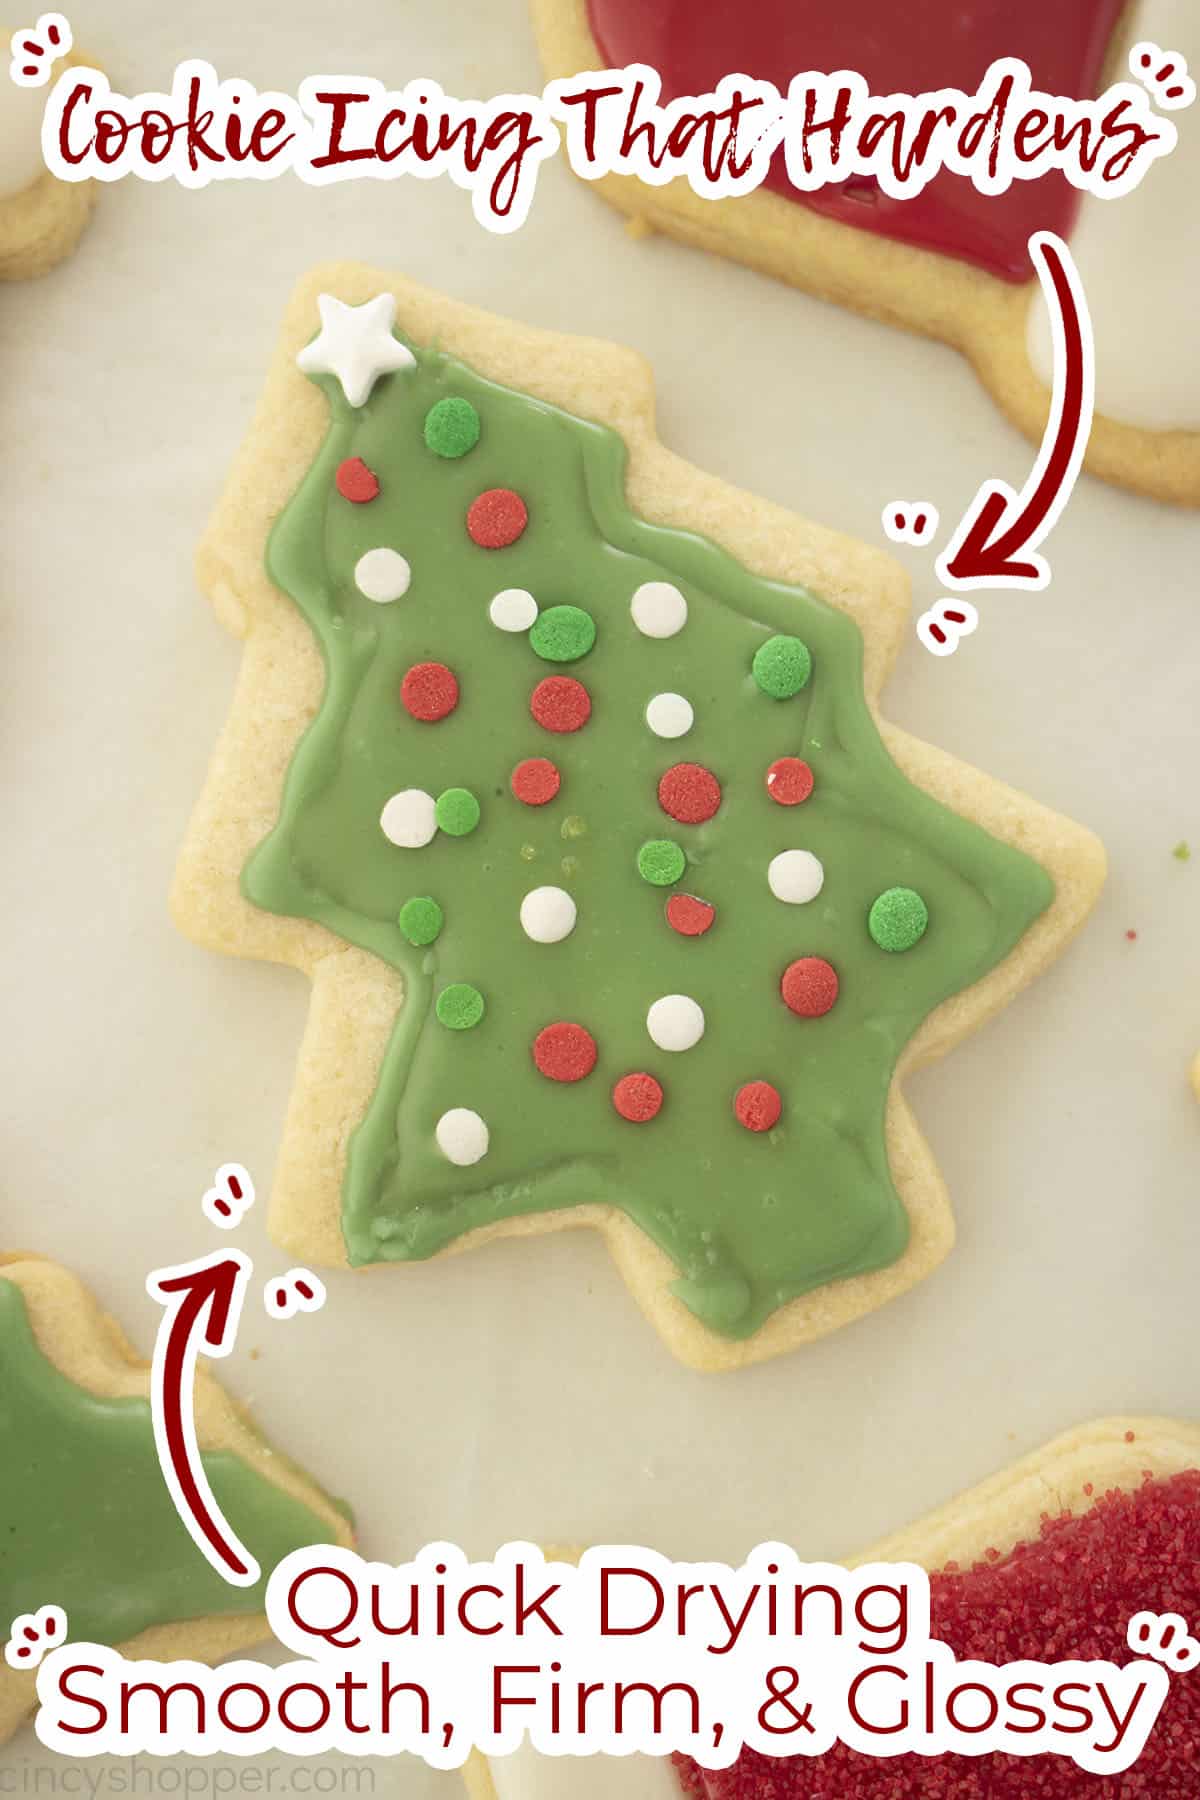
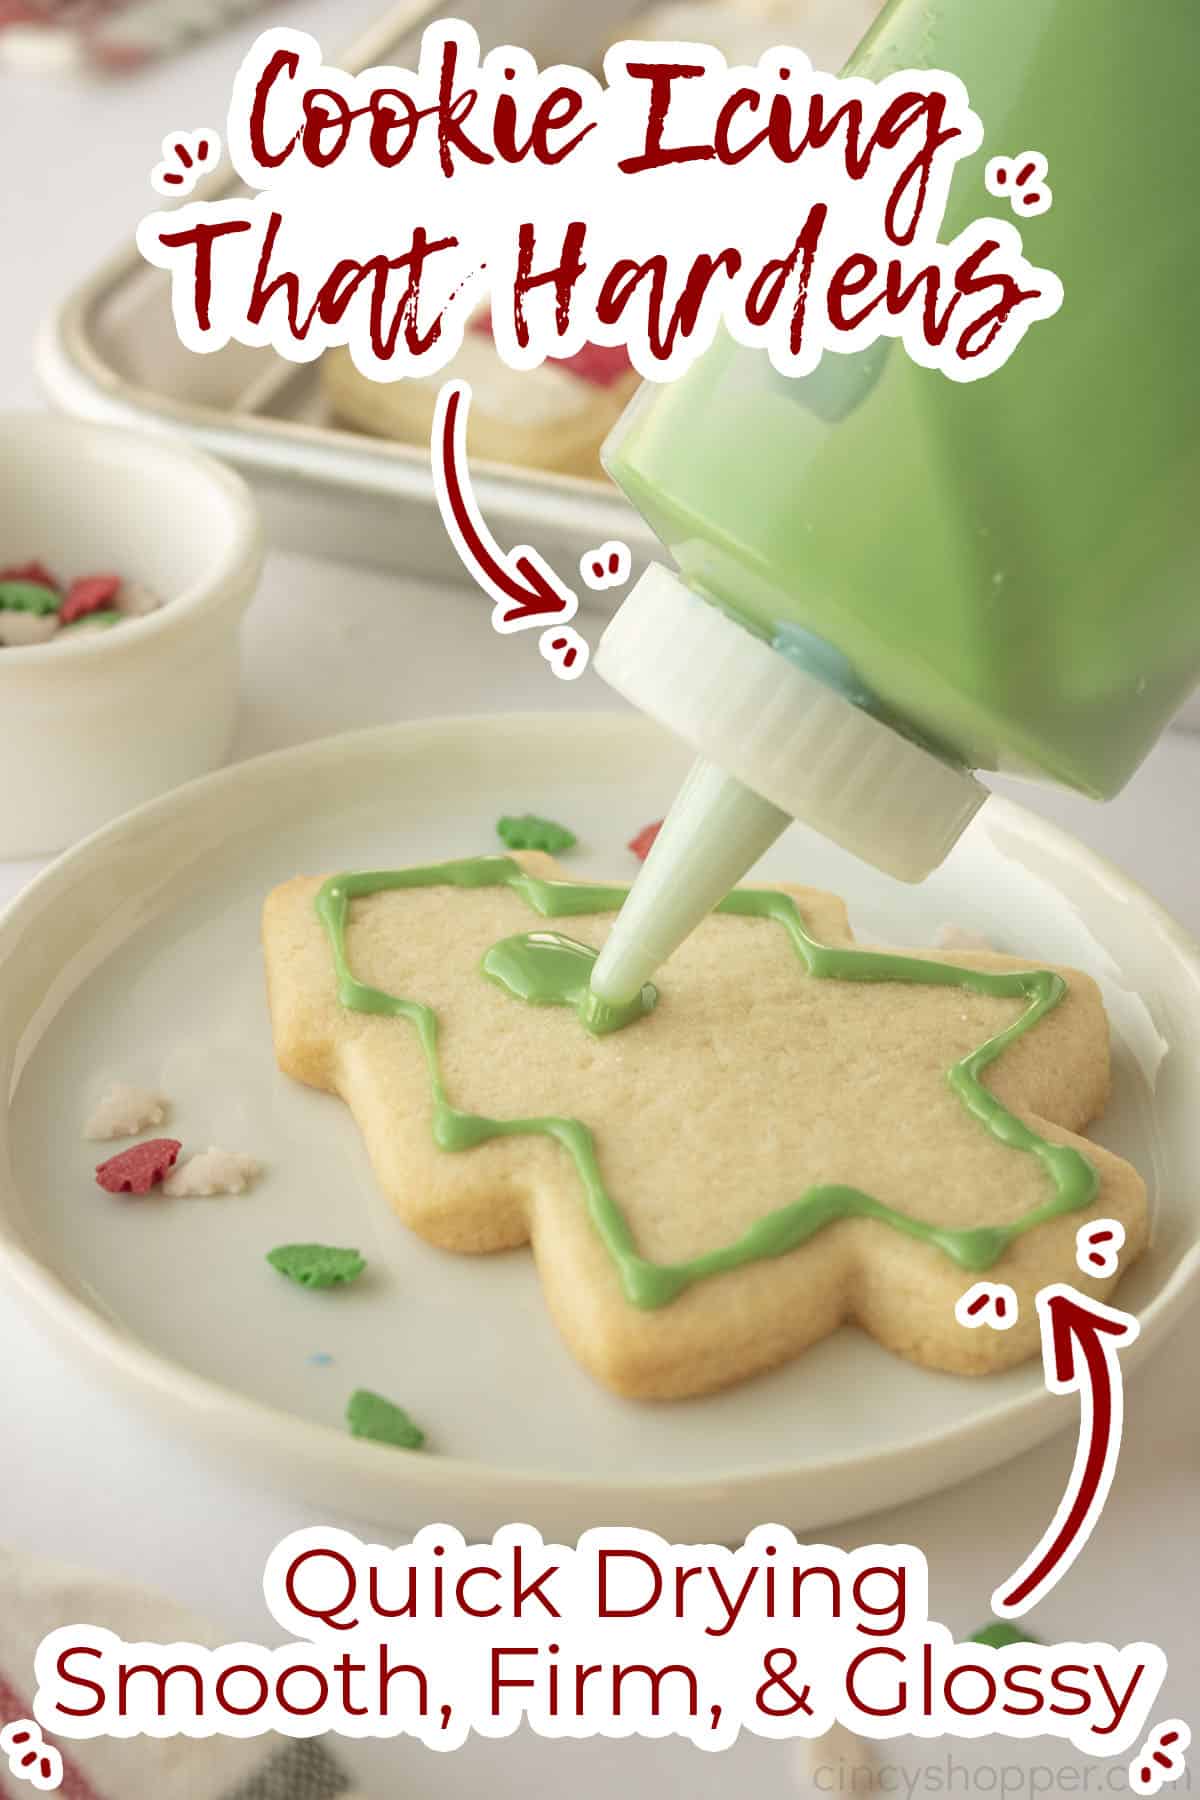
This Sugar Cookie Icing that Hardens is great for decorating cutout Christmas cookies. The recipe results in a smooth, firm and glossy icing that dries quickly. It requires just 3 Ingredients, and is so easy to make.
Are you looking to make impressive cutout sugar cookies this year? Do you get intimidated when decorating Christmas cookies with icing? If so, this recipe for Icing that Hardens will take your sugar cookies to a new level. It’s an easy recipe that uses no egg or days of drying time like traditional royal icing.
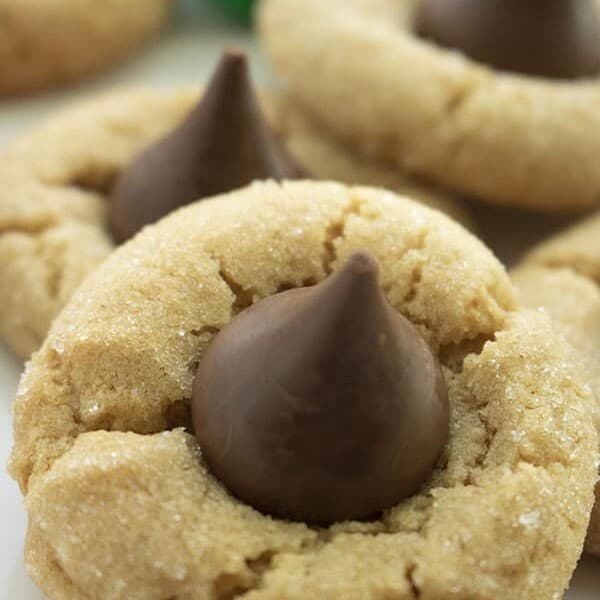
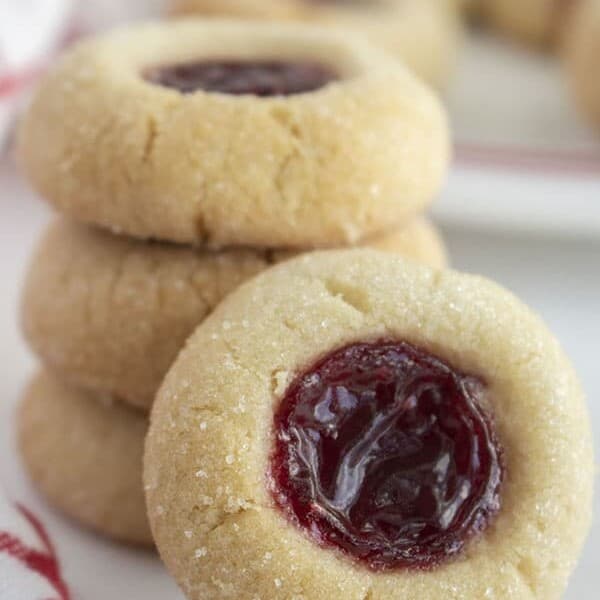
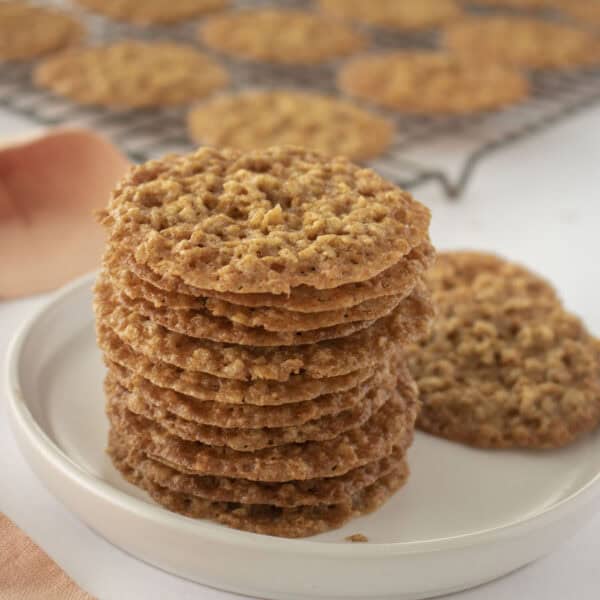
If you are looking for other easy cookie ideas, consider making Christmas Oreos or Christmas Cake Mix Cookies.
When needing to make cookies quickly, royal icing is not the answer. It takes days and days to harden and is difficult to work with. This is the BEST Sugar Cookie Icing Recipe. It can dry in as little as 6 hours, sometimes up to 24 depending on your environment. It’s made quickly and the consistency is so perfect that even kiddos can decorate cookies or gingerbread houses beautifully.
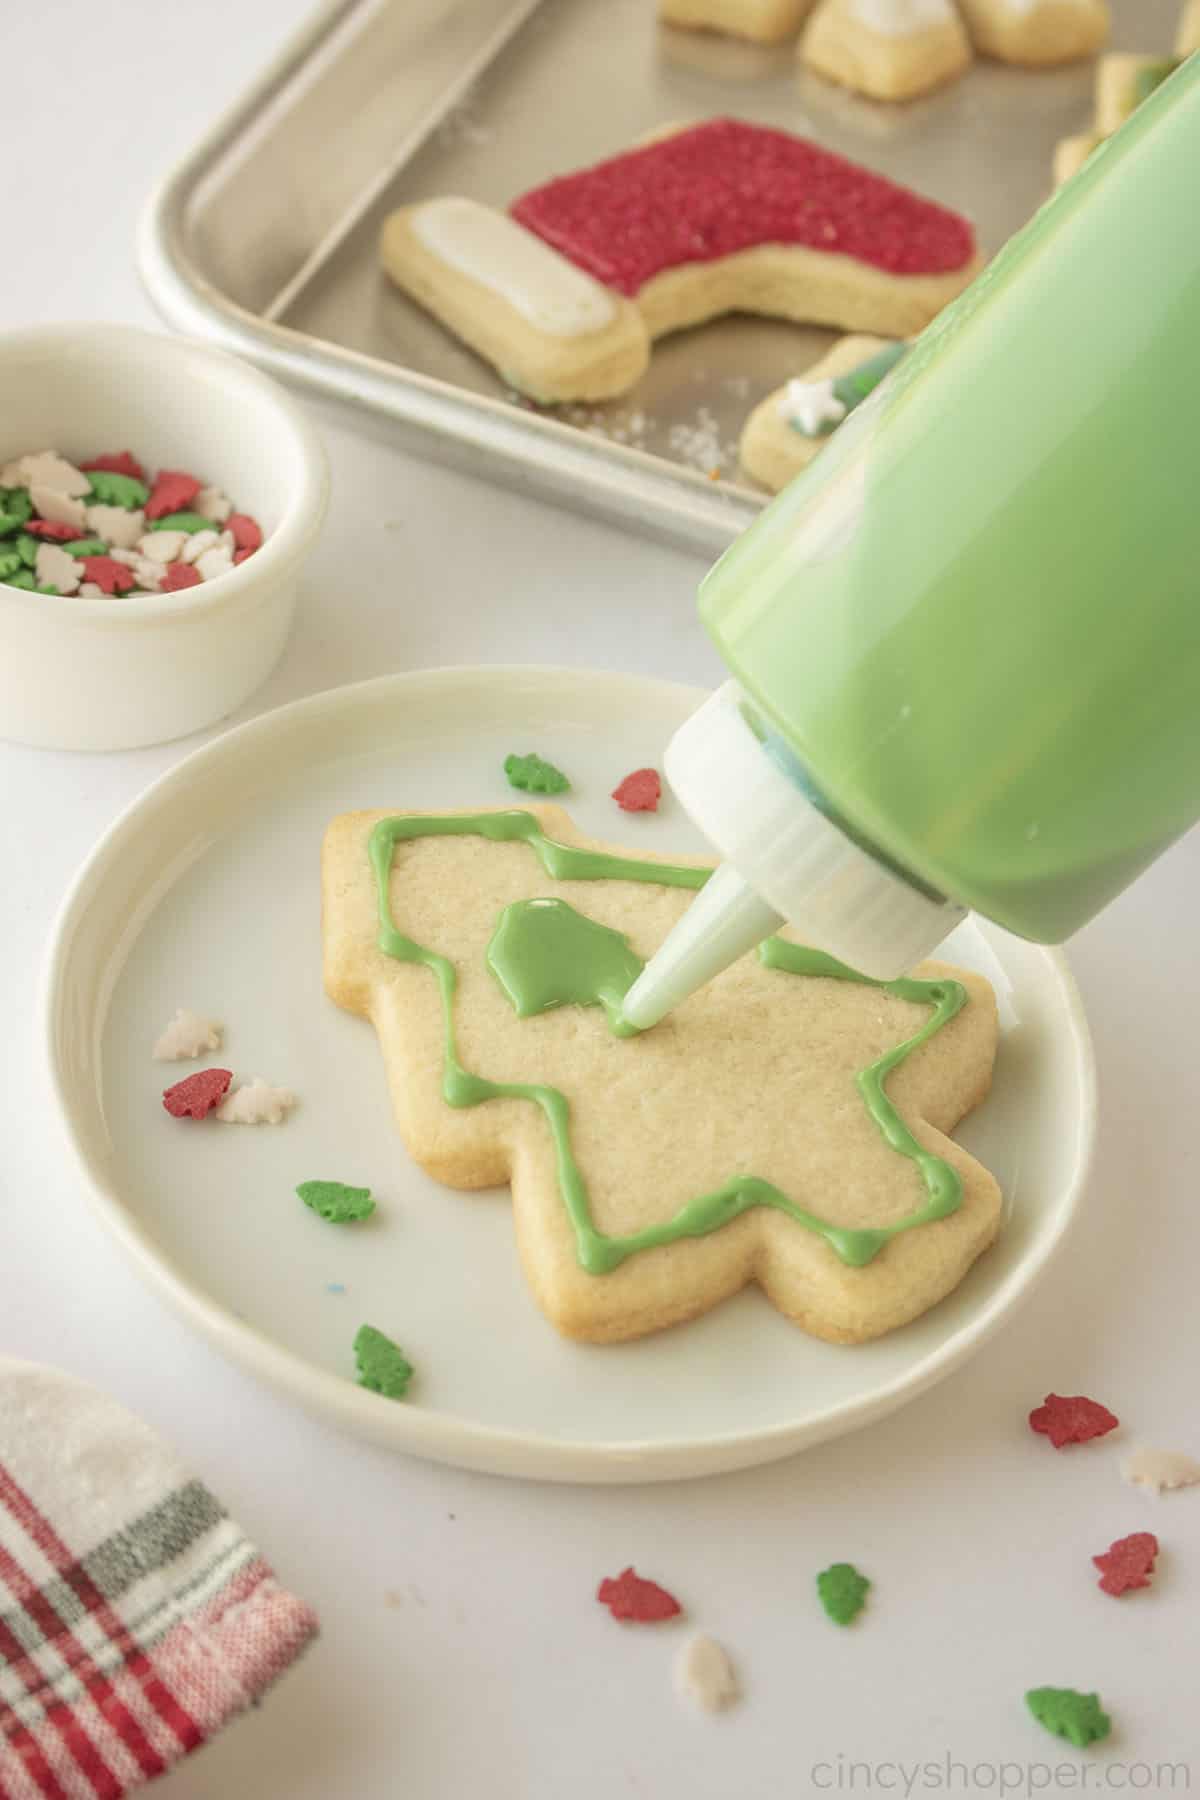
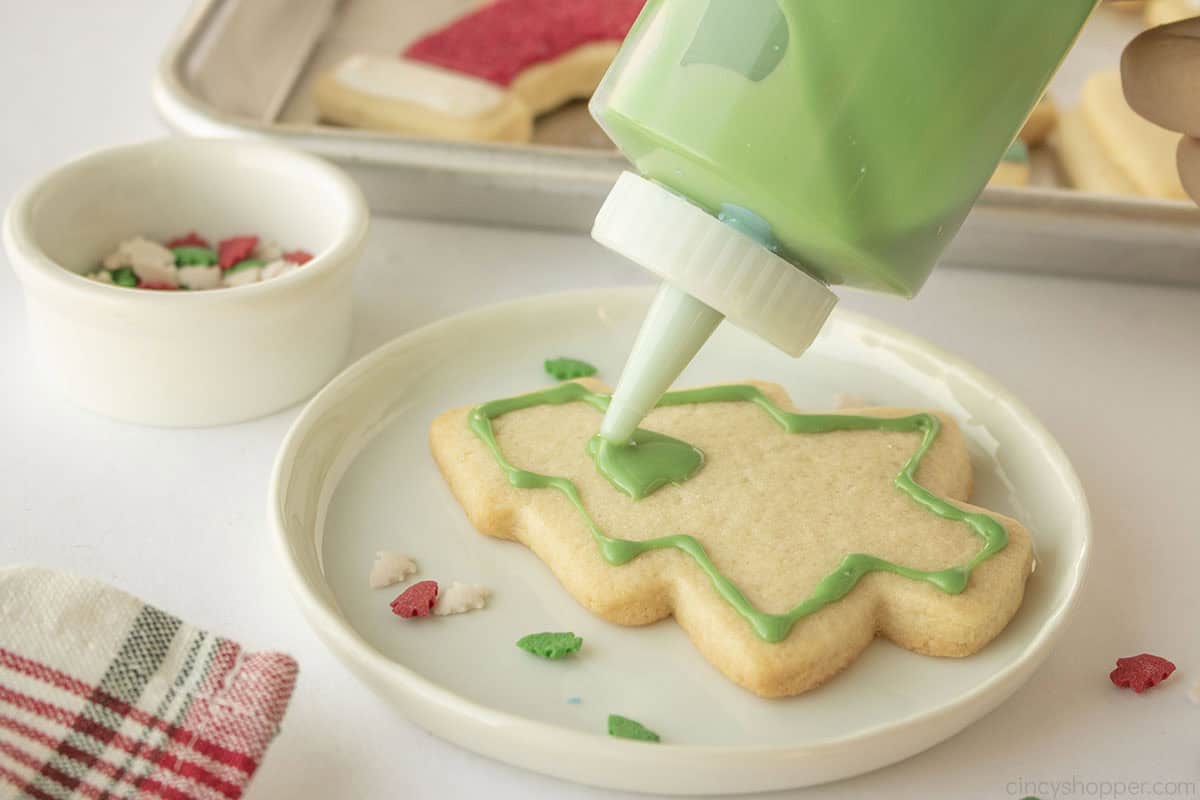
My key to perfect cookie decorating is pairing this Cookie Icing that Hardens with my No Chill Sugar Cookie Recipe ,the two are a match made in heaven. Another secret is using a squeeze bottle filled with homemade icing to decorate both the outline and flooding. You can achieve a perfect outline and fill for even those most intricate cookie designs.
I was amazed the first time I tried using a squeeze bottle to decorate my cut-our cookies. In the past I always used a piping bag which made the process so much more difficult. Trust me when I say that you need a squeeze bottle in your life. The inexpensive Wilton Brand is my go to. You can find them in MANY grocery or craft stores.

subscribe for all the latest deliciousness
I hope this icing recipe eases the stress of decorating stunning cookies. Have no fear, the recipe and process is so incredibly simple. Go ahead and follow my recipe, you will be amazed how easy it is to make decorated cookies for Christmas or any day of the year.
Ingredients for Sugar Cookie Icing that Hardens
What’s great about our cookie icing- or most sugar cookie icing recipes, really- is that you don’t need that many ingredients. Discounting the water and your food coloring option, this is just a simple, 3-ingredient frosting recipe. For our Cookie Icing that Hardens recipe, you’ll need the following ingredients:
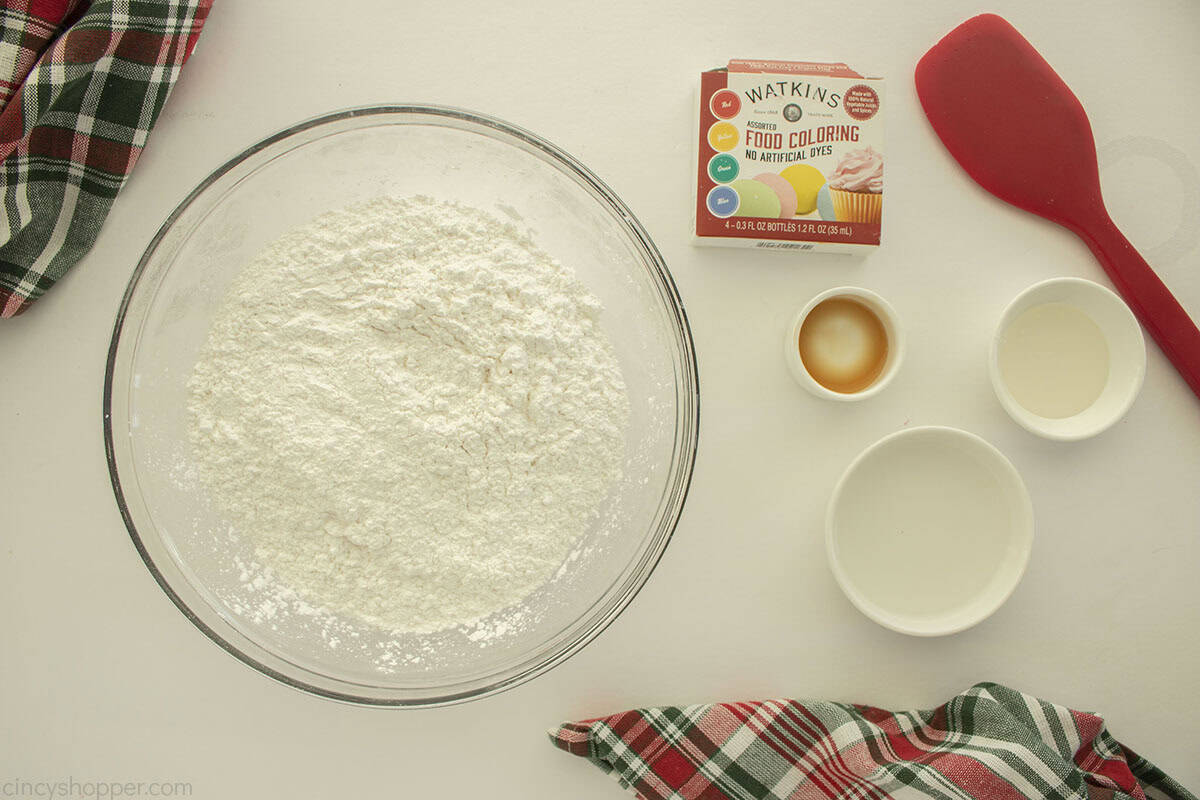
- Powdered Sugar – You can also find this sold as confectioners’ sugar, icing sugar, or frosting sugar as well. They’re all pretty much the same thing.
- Vanilla Extract– Omit the vanilla flavoring or use a clear vanilla extract if you would like a white icing.
- Corn Syrup – This gives the icing it’s sheen and shine. Use light corn syrup for icing and frosting. Dark corn syrup usually has added molasses and will make your cookie icing dark and give it darker, rich caramel flavors. If that’s the kind of flavor you want, though, give it a try!
- Warm Water – Feel free to use room temperature milk if you choose to..
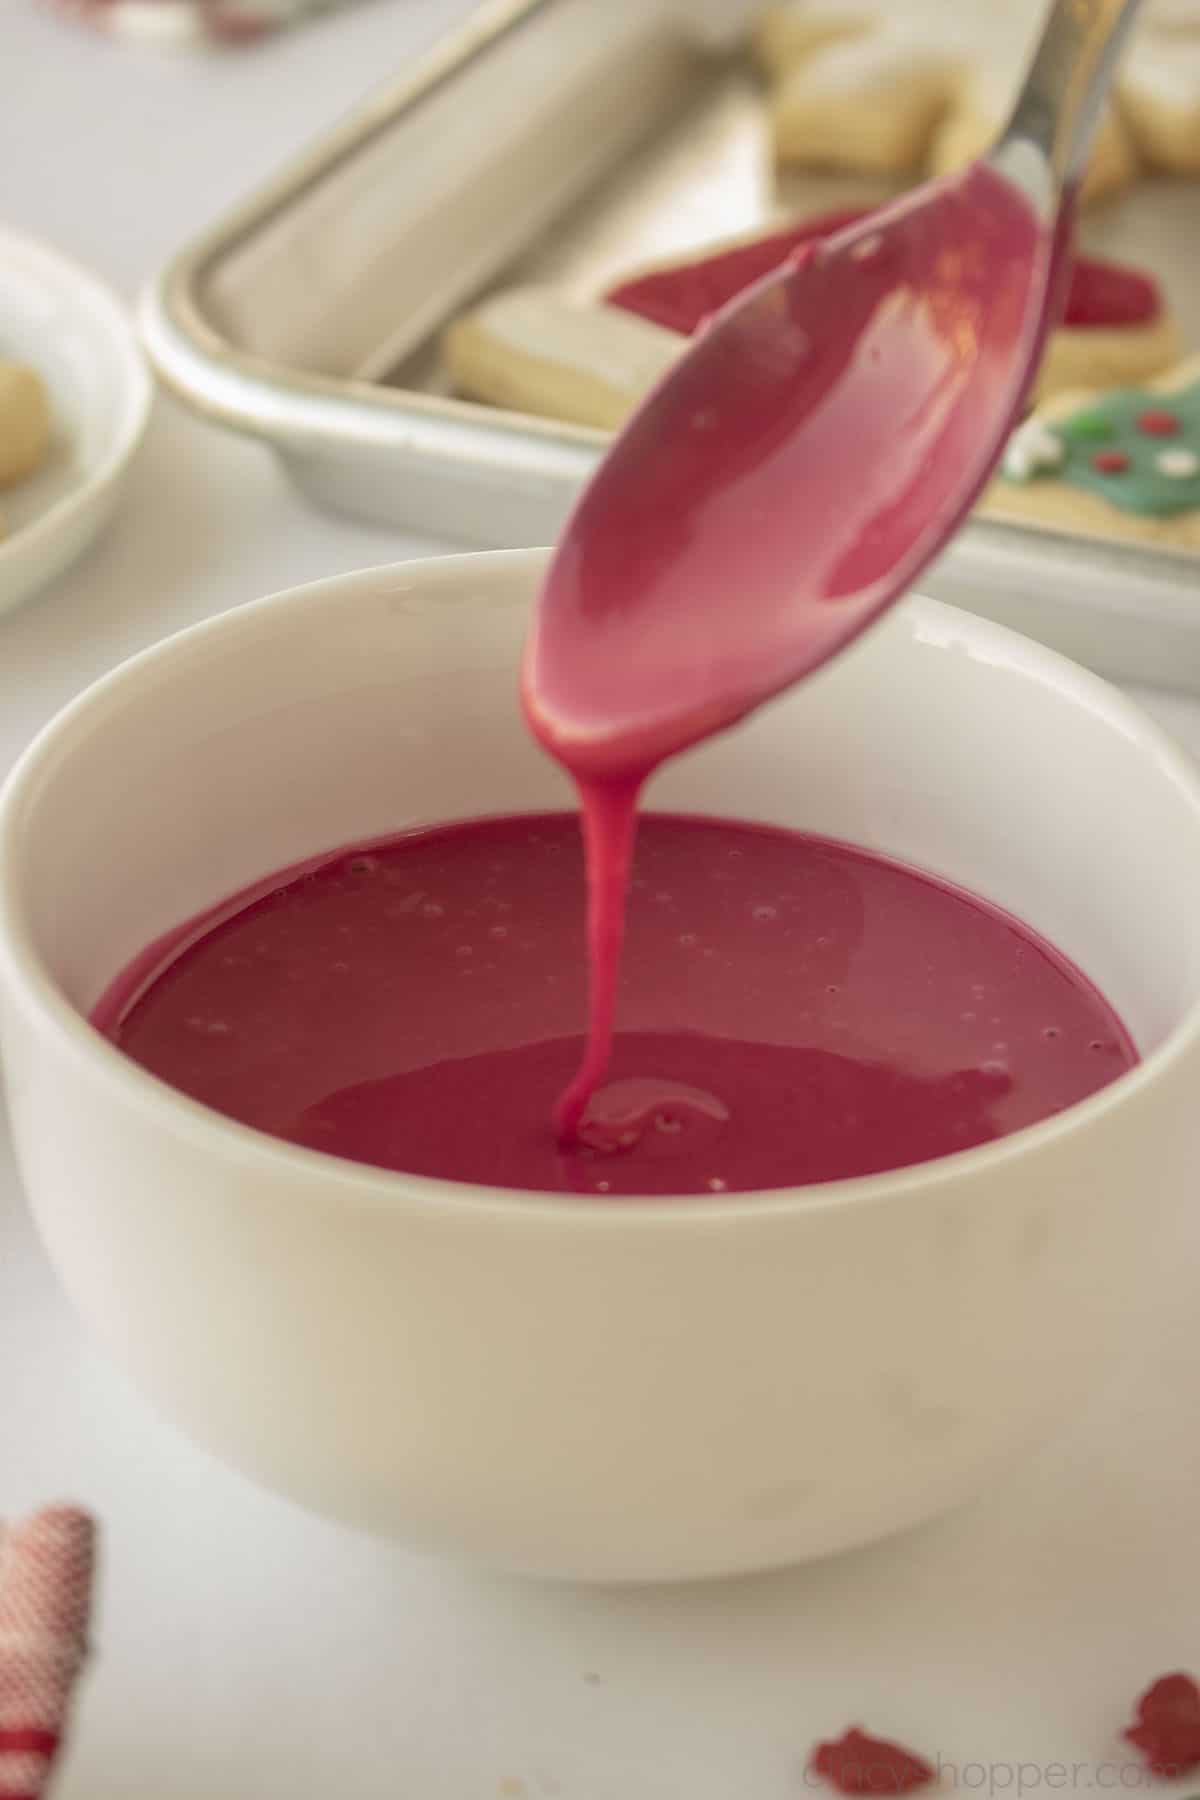
- Food Coloring – There’s tons of different types of food coloring you could use in an icing recipe like this. A lot of professional bakers like to use gel food coloring but that tends to be a bit more expensive and hard to find versus liquid food coloring which is cheaper, easier, but might need more food coloring to get the color you want. We ended up using Watkins Food Coloring because we wanted a natural food coloring.
See recipe card for quantities.
How to make Cookie Frosting that Hardens
Making icing for sugar cookies that harden is pretty easy and not that difficult to pull off. You just need to get a perfect consistency that is perfect for outlining and flooding. Guess what? This one does both without needing two different constancies of icing. There’s not that many extra steps, you don’t need much outside of a bowl and a spoon or spatula.
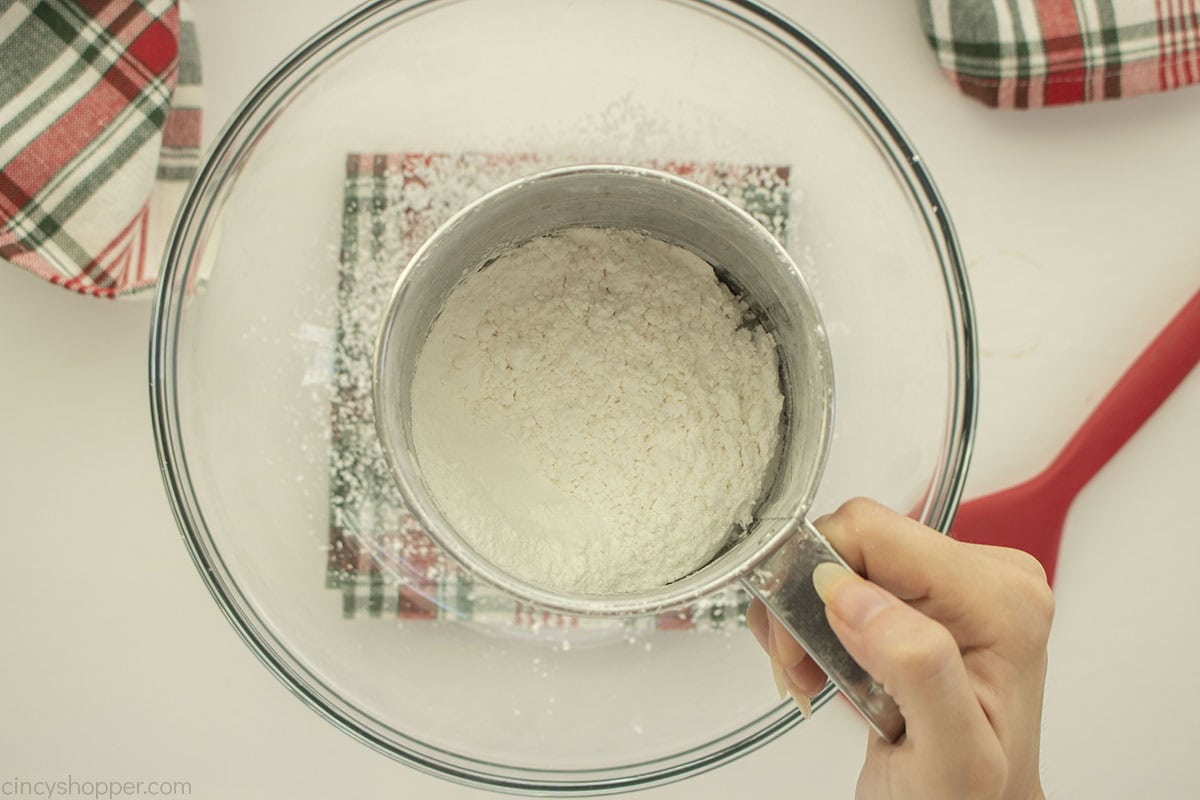
- To start, grab a medium-to-large mixing bowl and use a sifter or fine mesh sieve to sift powdered sugar into bowl. Sifting sugar will prevent clumps and help give our cookie icing a more uniform, consistent texture.
- Next up, in no particular order, we add the following ingredients to the bowl. Our warm water…
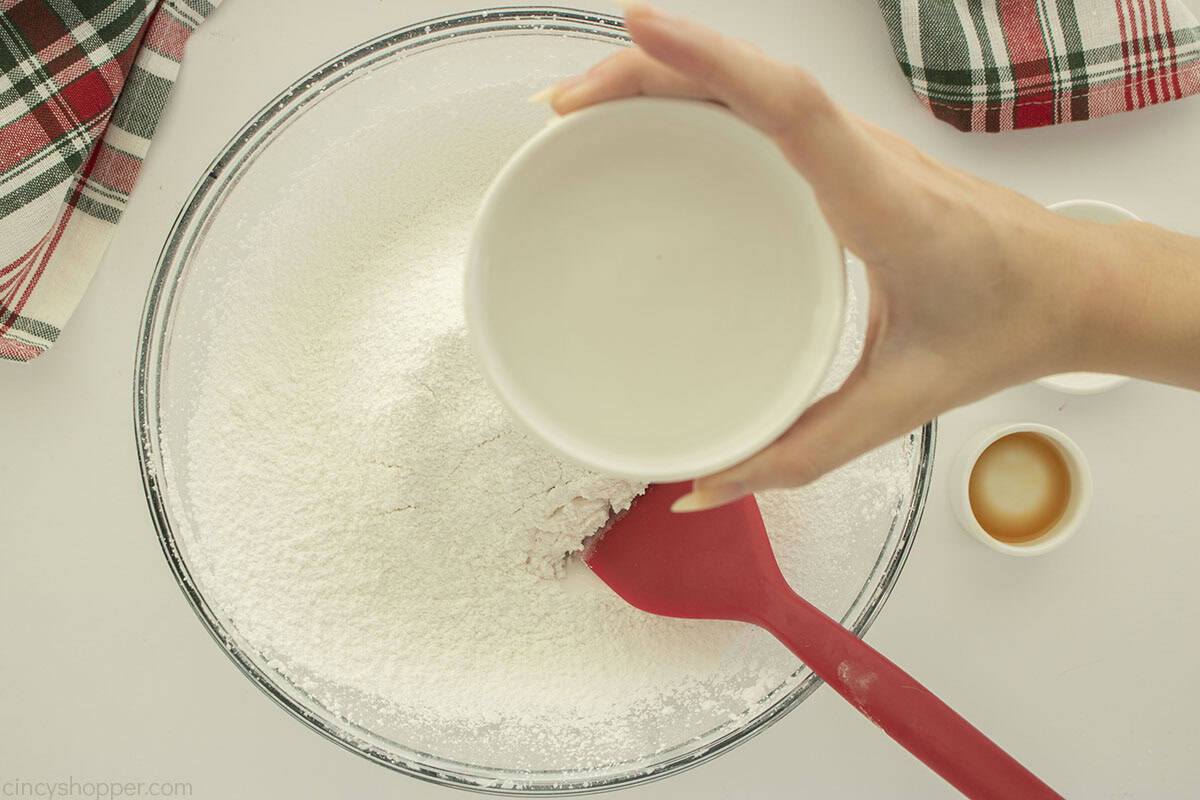
- …some corn syrup…
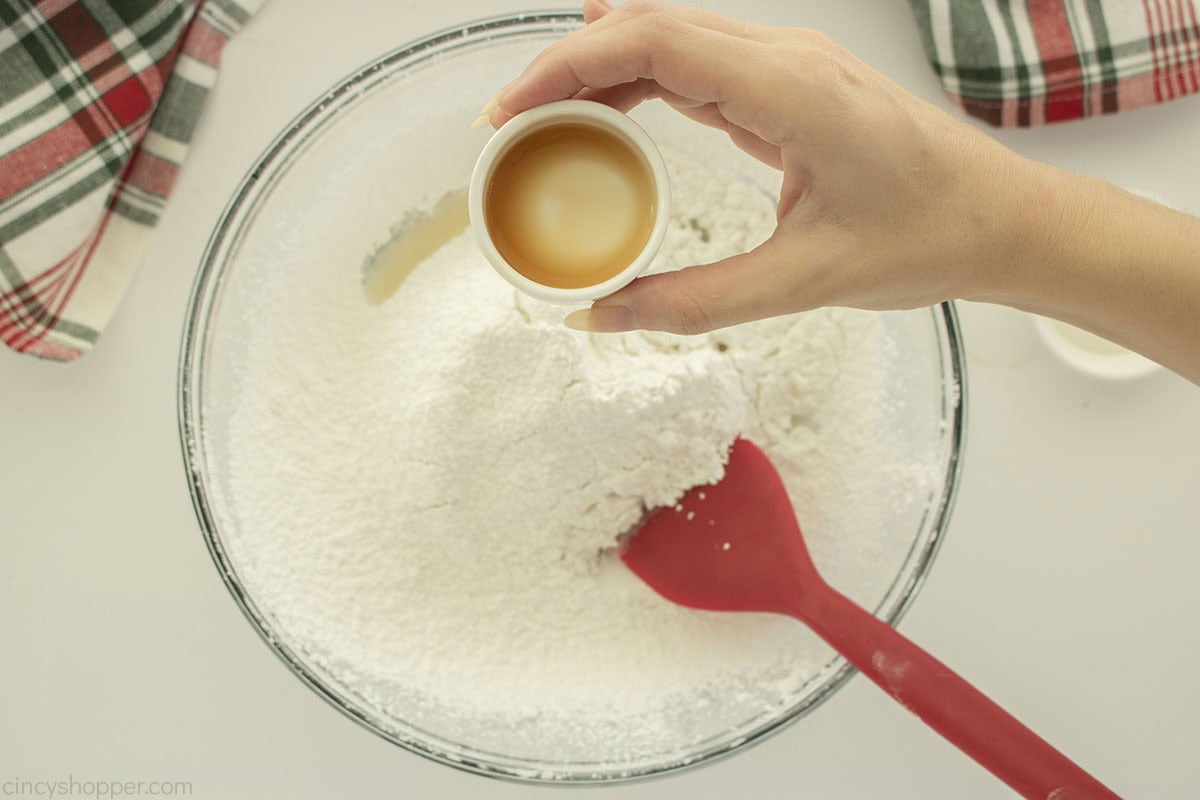
- …and, finally, the vanilla extract.
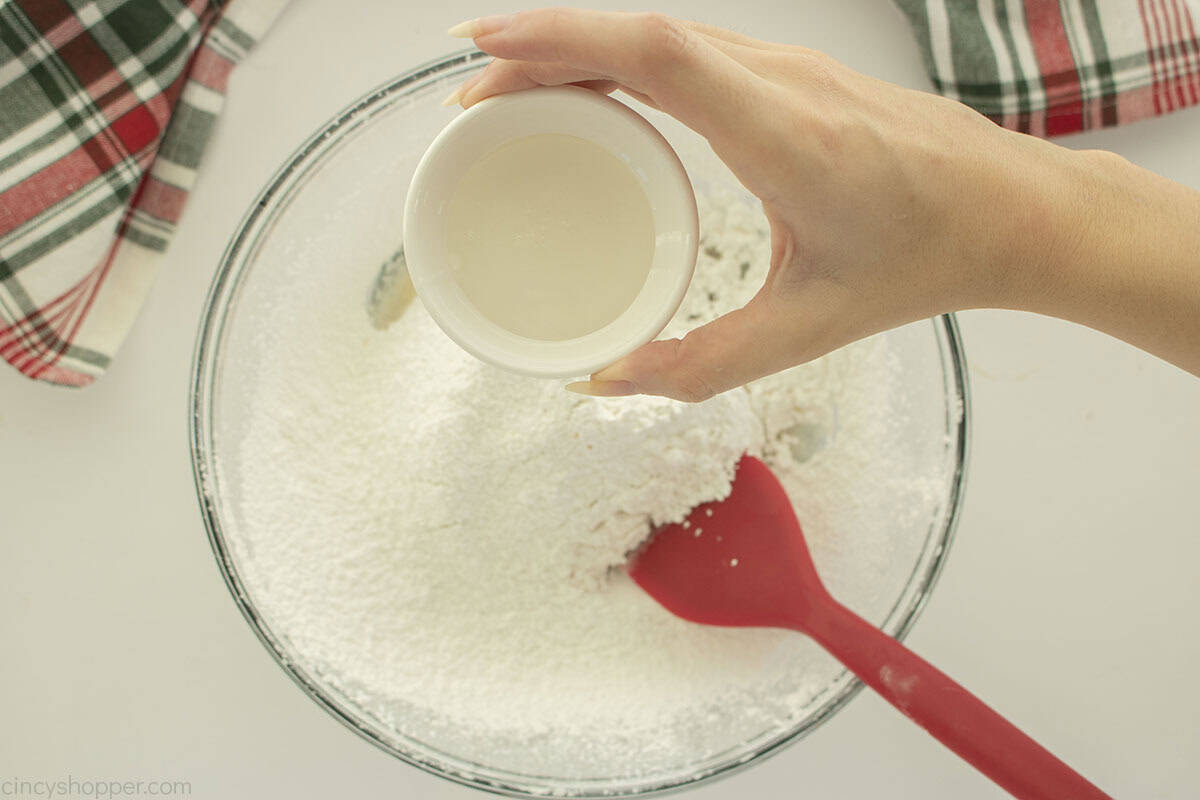
- Use a rubber spatula to stir those all togther until you’ve got a consistent, smooth icing. Once your cookie icing comes together, feel free to divide it into smaller bowls.
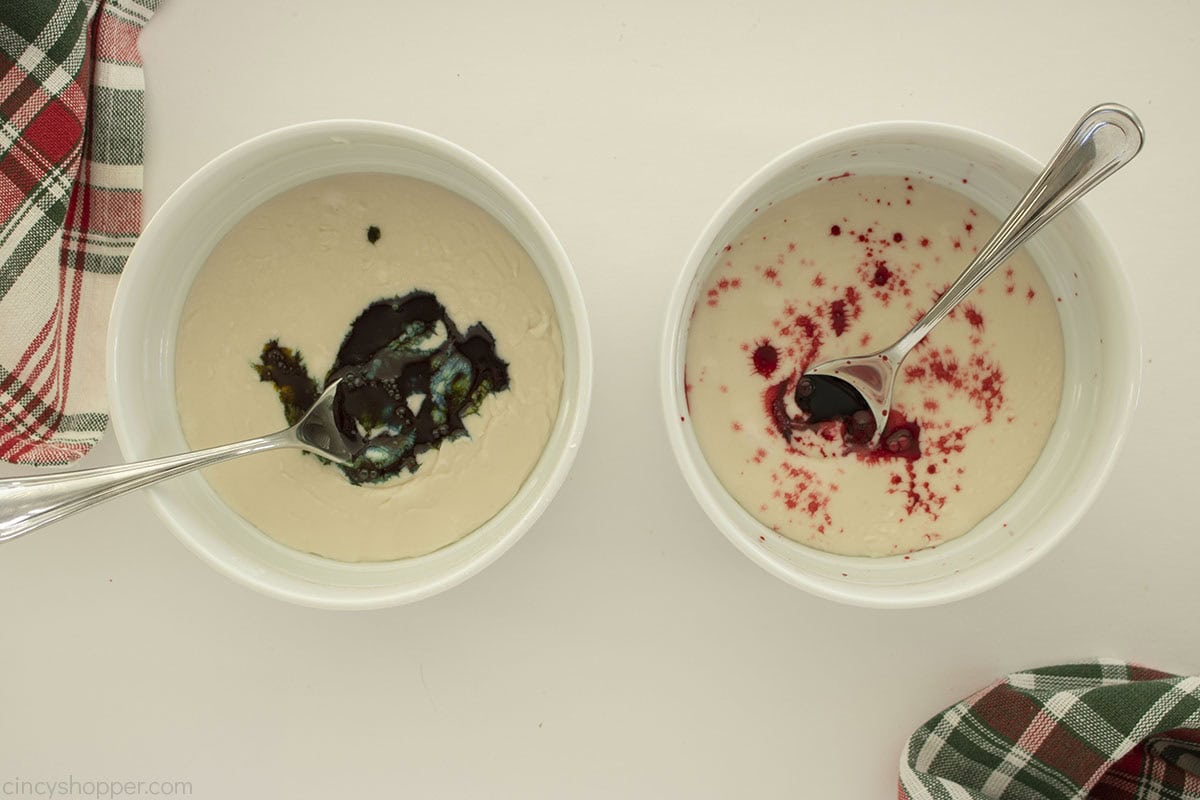
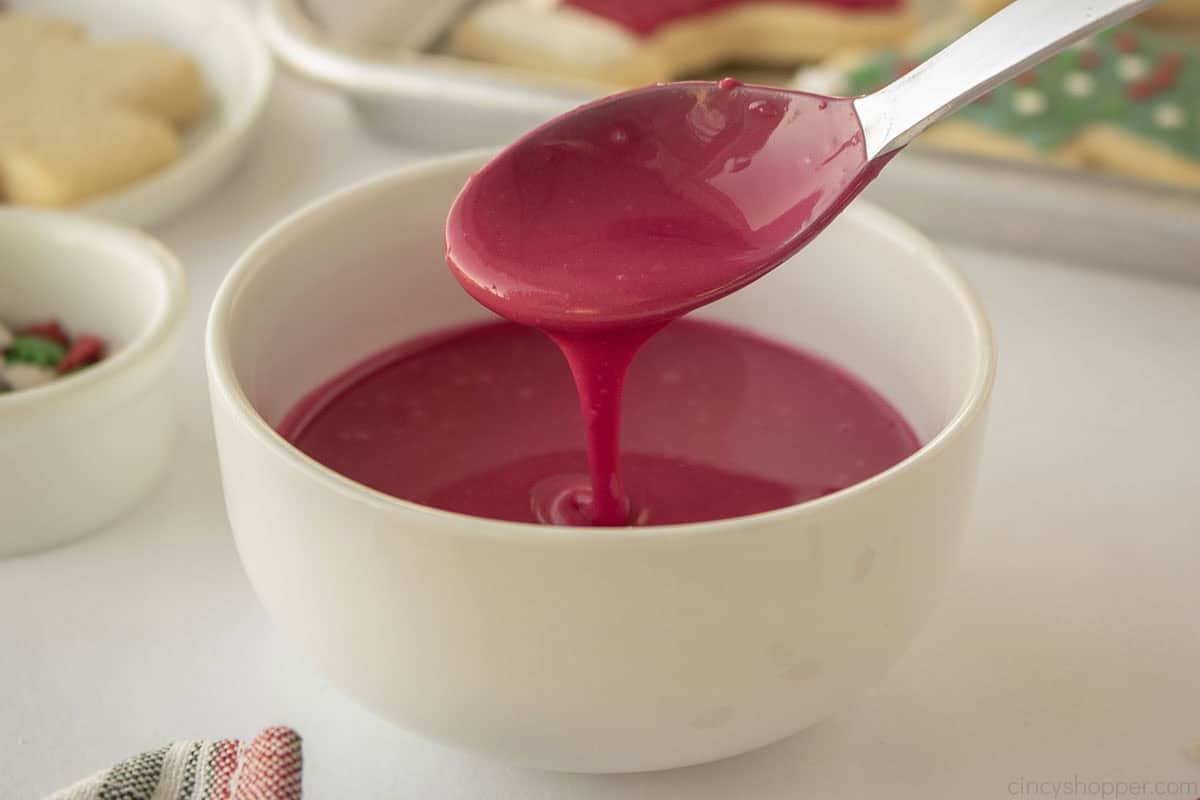
- Gradually add food coloring to your icing until you get the colors you want. When your colored cookie frosting is all mixed up, transfer to a piping bag or a squeeze bottle for ease of use. Once you’ve finished icing cookies, give frosting time to set– it should form a crust within the first hour and be fully hardened after a 6-24 hours.
Storage / Freezing
Storage: Leftover cookie icing can come in handy if you end up making more batches of cookies down the line, so feel free to save it! Kept in a sealed airtight bag on the counter, it should last a couple days. For longer term storage keep icing in the fridge in an airtight container for up to a month- sugar and syrup are good preservatives as long as you keep everything sealed and bacteria out.
Freezing: You can try freezing cookie icing if you really want to- we think it’s easier and more convenient to just make it when you need it. Still, for best results, you’ll want to transfer leftover icing to a freezer safe bag and squeeze out as much excess air as possible to prevent freezer burn. Frozen icing should last around 2-3 months- thaw in the fridge or on the counter, stir to mix any separated ingredients, and optionally add water if too thick.
Tips for the BEST Sugar Cookie Icing
- Omit the vanilla extract or use a clear vanilla if you would like a white icing.
- Smooth any icing sugar lumps by smooshing with a spatula against the side of the bowl.
- If your icing seems too thick, add small amounts of water to get to the right consistency.
- Is your icing too thin? Add a bit more powdered sugar.
- Use a decorating squeeze bottle for easier decorating.
- If you add too much icing in one spot, use a toothpick to move the excess around.
- If using natural food coloring like I did, you will need quite a bit of coloring to achieve “bright” colors.
- Allow your icing to harden for at least a few hours before checking them. Do not stack, store or freeze them until completely hardened. It can take the icing up to 24 hours depending on your environment
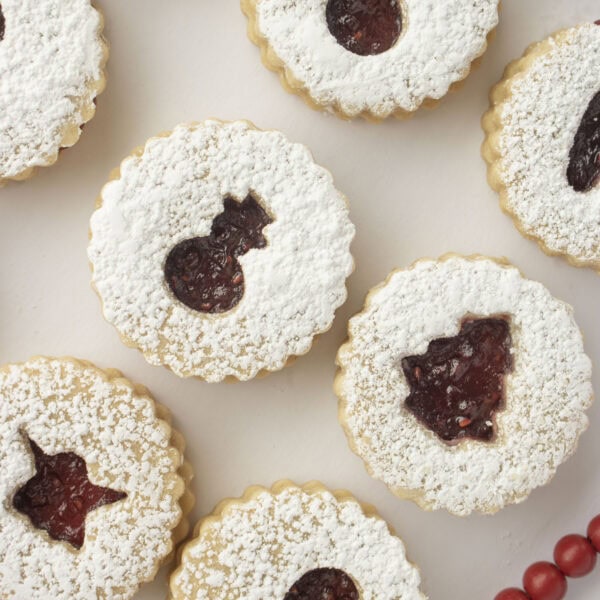
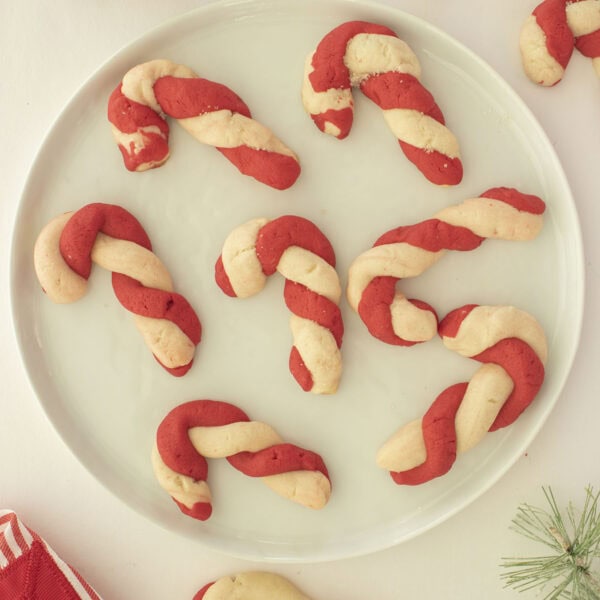
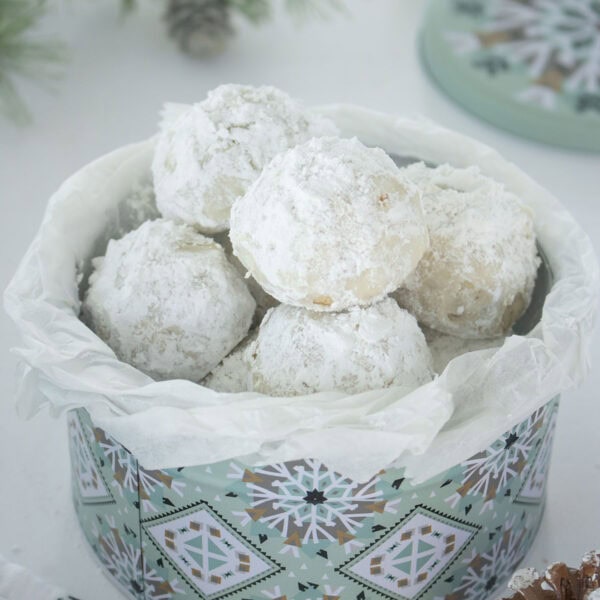
You May Like these Cookie Recipes


Pin this now to find it later
Pin It
Cookie Icing that Hardens
Ingredients
- 3 cup Powdered Sugar
- 1/2 tsp Vanilla Extract
- 2 tsp Light Corn Syrup
- 5 tbsp warm Water
- Food Coloring
Instructions
- Sift powdered sugar into a medium to large mixing bowl.
- Add water, corn syrup and vanilla to bowl.
- Stir with spatula until icing is smooth and uniform.
- Divide mixture into smaller bowls and add coloring to attain desired shade.
Notes
- Omit the vanilla extract or use a clear vanilla if you would like a white icing.
- Smooth any icing sugar lumps by smooshing with a spatula against the side of the bowl.
- If your icing seems too thick, add small amounts of water to get to the right consistency.
- Is your icing too thin? Add a bit more powdered sugar.
- Use a decorating squeeze bottle for easier decorating.
- If you add too much icing in one spot, use a toothpick to move the excess around.
- If using natural food coloring like I did, you will need quite a bit of coloring to achieve “bright” colors.
- Allow your icing to harden for at least a few hours before checking them. Do not stack, store or freeze them until completely hardened. It can take the icing up to 24 hours depending on your environment
Nutrition


Has anyone tried using almond extract instead of vanilla extract?
What is the yield for recipe? Thanks for the tips btw 😉
Easy to follow directions and good tips.
Hi Glada! Thanks so much for your rating and review. I hope this easy cookie icing comes in handy for your Christmas cookies and all year cookies. Happy Holidays! – Jen
10 of 10
Thanks much Katarina! I am so glad you had success with our Christmas Cookie Icing.- Jen