Thumbprint Cookies
on Oct 28, 2020
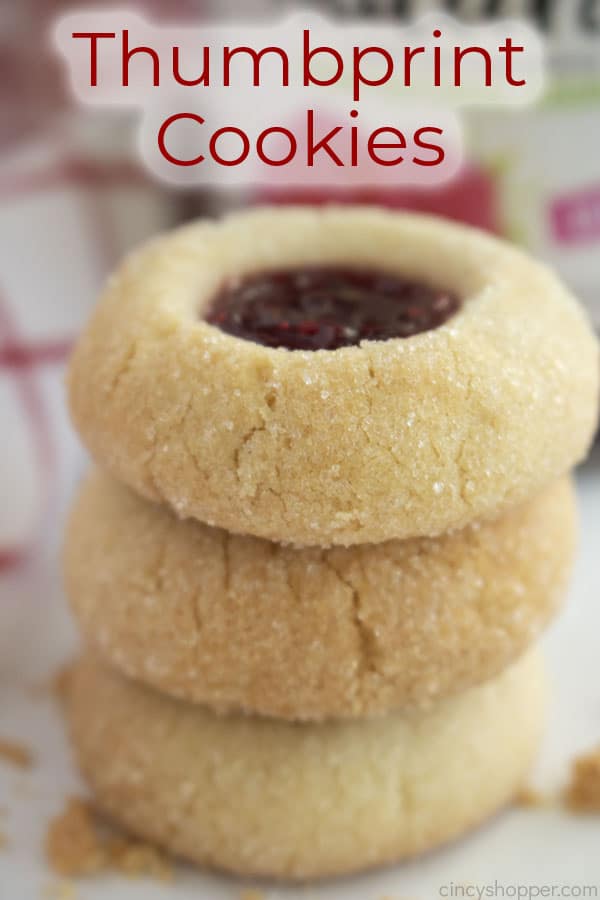
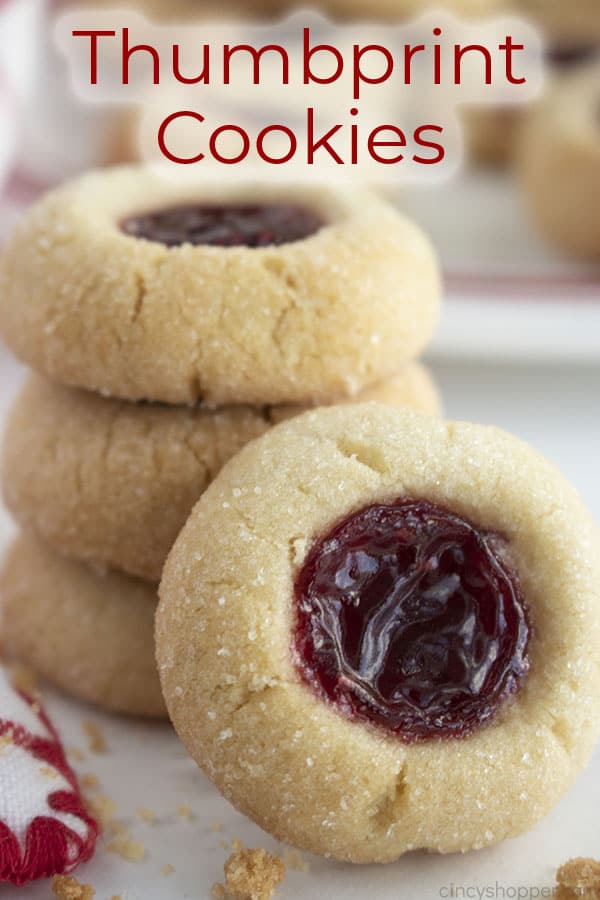
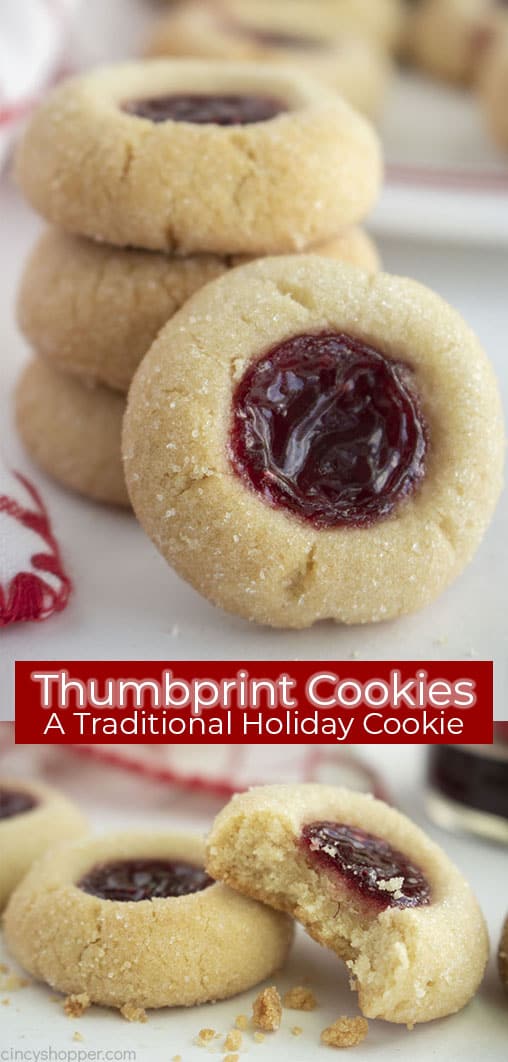
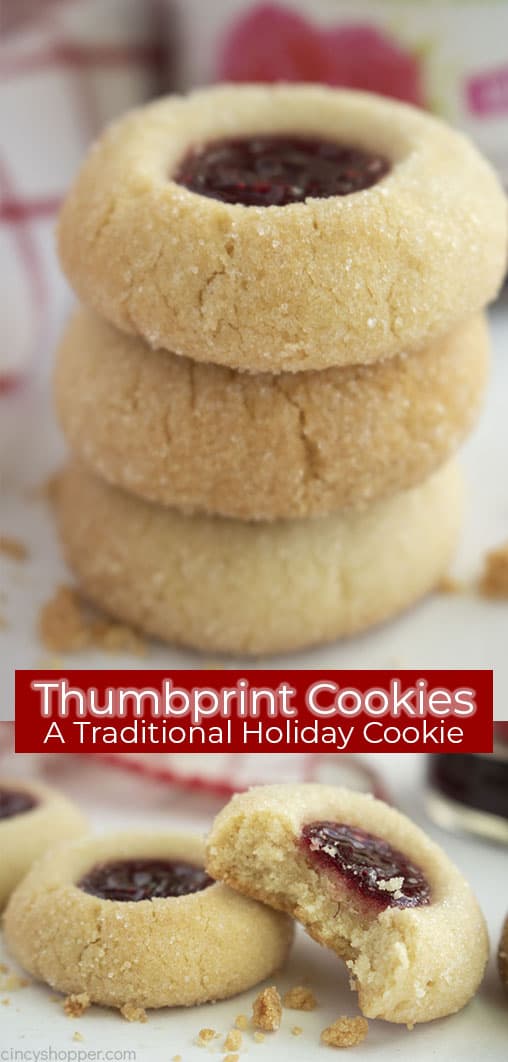
Jam Thumbprint Cookies are a classic shortbread cookie with a jam center. This traditional holiday cookie is sweet, simple, and easy to bake!
The holidays are the time to bring out those old school cookie recipes that everyone will love! These Thumbprint Jelly Cookies use a simple, shortbread-style cookie dough with a sweet, jammy center. A delicious holiday cookie recipe!
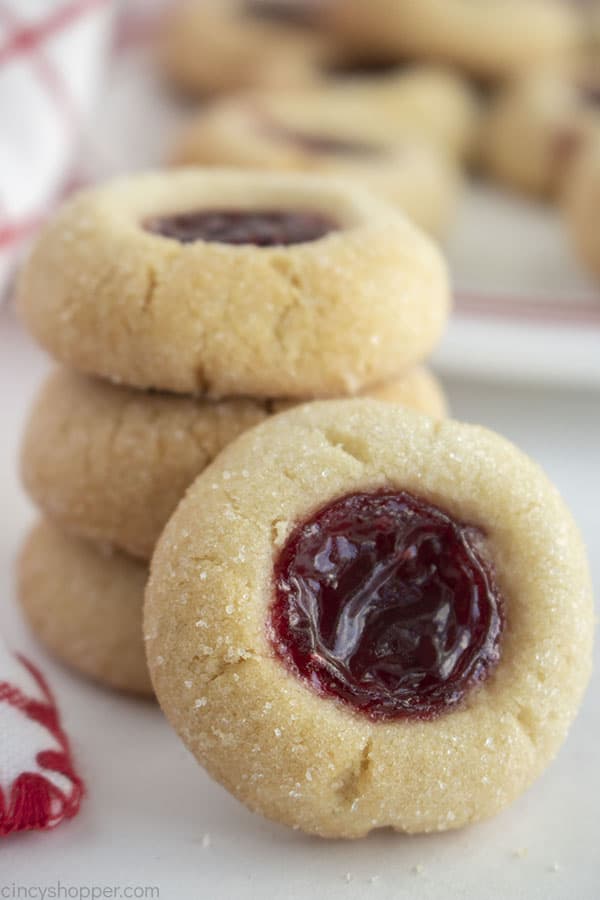
Jam Thumbprint Cookies
Once fall starts coming to an end and Thanksgiving and Christmas come into view, I’m eager to get started on making tons of holiday cookies. There’s something about winter that seems to bring out the cookie-lover in me- must be something to do with the sweet baking smells. Whatever the case, it always seems like we have a plate of cookies ready. Recently, we made up a batch of these tasty Thumbprint Jam Cookies!
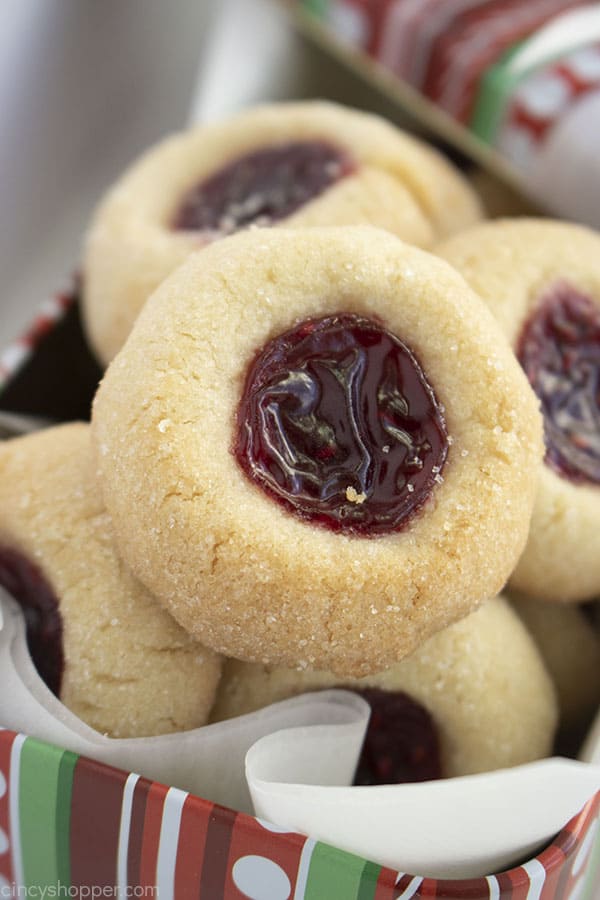
Thumbprint Cookies are a classic style of cookie where you can press a divet into the center of a shortbread or sugar cookie. What you fill that divet with is up to you: chocolates, nuts, candy, icing, or- in our case- some delicious jam!
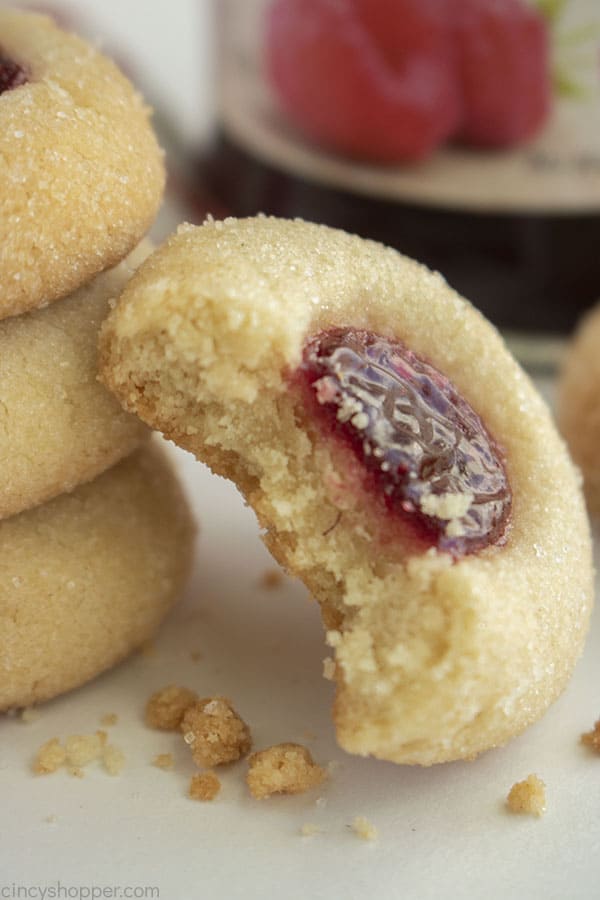
You can make our recipe for Classic Thumbprint Cookies with all sorts of jams, jellies, preserves, and marmalades. With so many options to pick from, it’s not hard to find a Thumbprint cookie you’ll love!
More Classic Cookie Recipes
-
For another old fashioned cookie recipe, we have The Best Oatmeal Raisin Cookies. These classic cookies are moist, soft, chewy, and oh-so delicious! Loaded up with plenty of oats and plump raisins.
-
Butter Cookies are delicious, buttery, and easy to make! This simple cookie recipe yields a small, silky cookie that you can’t have just one of. Serve plain or give them a quick dunk in some chocolate and sprinkles!
-
Few things are so simple to make but so delicious like Soft Snickerdoodle Cookies. Bake up a batch of these to leave on the counter for snacking on or pack them up in lunches for a sweet treat! A soft, chewy, and perfectly spiced sweet.
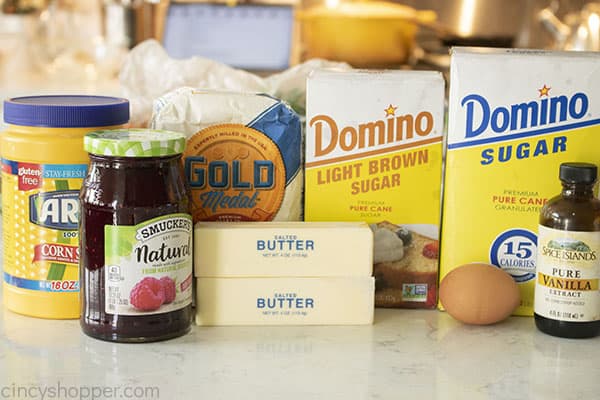
Ingredients for our Thumbprint Cookies
-
Butter, softened
-
Sugar – Both white and brown sugars.
-
Egg – We’ll only need the yolk.
-
Vanilla Extract
-
Flour
-
Cornstarch
-
Jam – Go with your favorite here! We went with raspberry but there’s all sorts of flavors out there. Preserves and marmalades will work as well.
How to prepare Jam Cookies
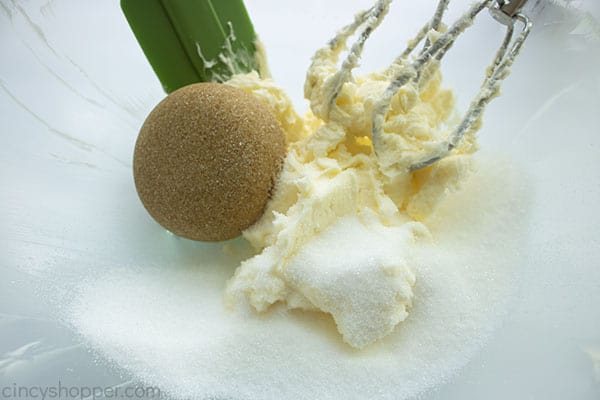
The base of our cookies is very much like a shortbread. We’ll make it by combining our wet and dry ingredients separately. First, cream together your butter, brown sugar, and some of your white sugar with a hand mixer at medium-high speed.
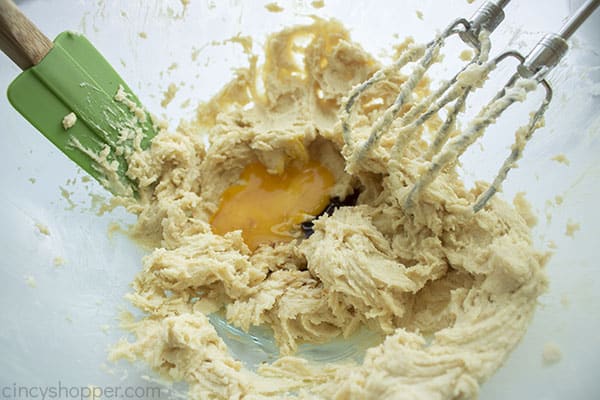
Drop an egg yolk and your vanilla in with these wet ingredients and beat again until well-combined. That’s our wet mix dealt with!
For our dry ingredients, we’ve got flour, cornstarch, and some optional salt. Briefly whisk those together by hand before moving on to combining the wet and dry ingredients.
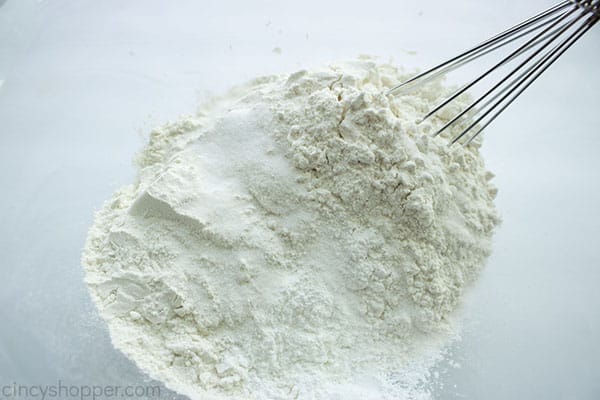
Turn your electric mixer down to low speed and start slowly and gradually adding the dry ingredients to your wet mix. Make sure to scrape the sides and bottom of the bowl occasionally to ensure everything’s getting combined.
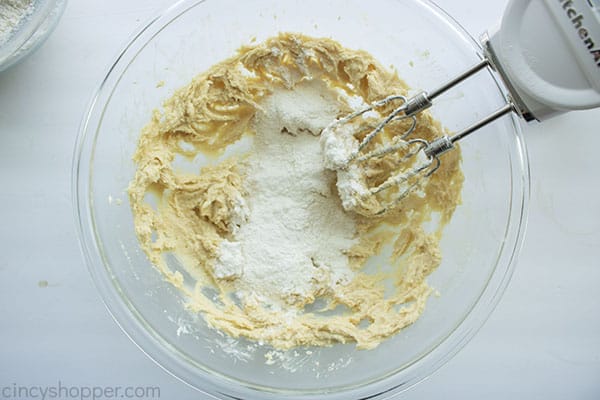
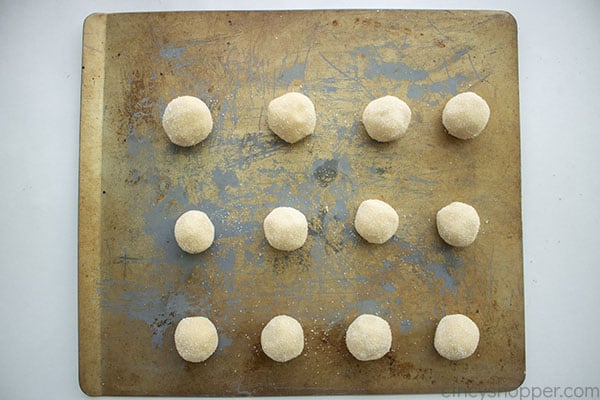
That’s our cookie dough all dealt with! After letting our dough chill in the freezer for 20 minutes, we can focus on getting it portioned out for our cookies. We want balls of dough that are about an inch to an inch-and-a-half wide- a cookie scoop or a tablespoon will help get this size. Make sure to roll the balls out nice and smooth before rolling in your leftover white sugar. Space them about 1-2 inches apart on a light-colored cookie sheet.
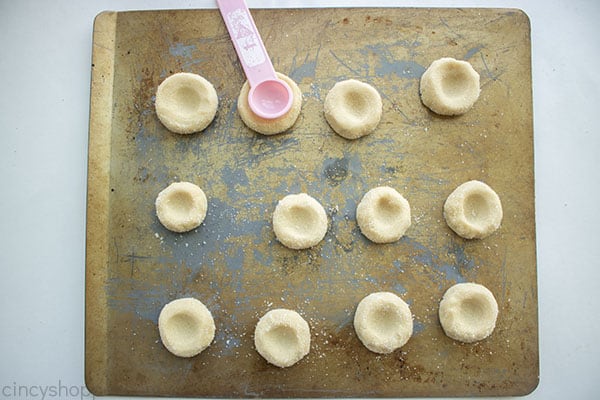
Now we need to form some divets for our jam to sit in. You can form these by either using your thumb or the back of a rounded teaspoon.
Put your jam into a microwave-safe bowl. We’re going to soften it up in the microwave- this shouldn’t take any longer than 20 seconds. Once softened, spoon the jam into the indents on your cookies- and be generous! No one’s going to like an underfilled cookie!
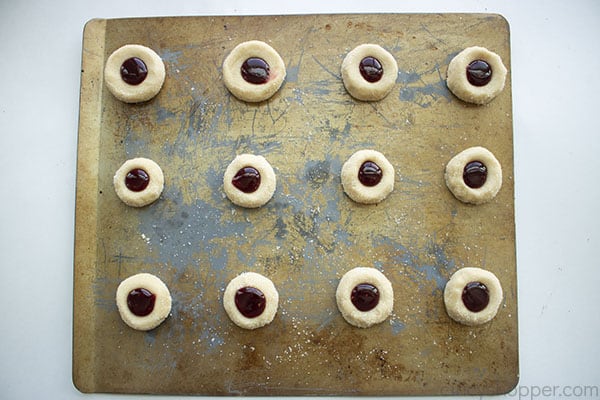
All that’s left is to bake. Put your filled cookies into a 375 degree oven and let cook for around 10-12 minutes. Your cookies are done when the edges have started to turn a tasty-looking golden brown! Let cool before enjoying!
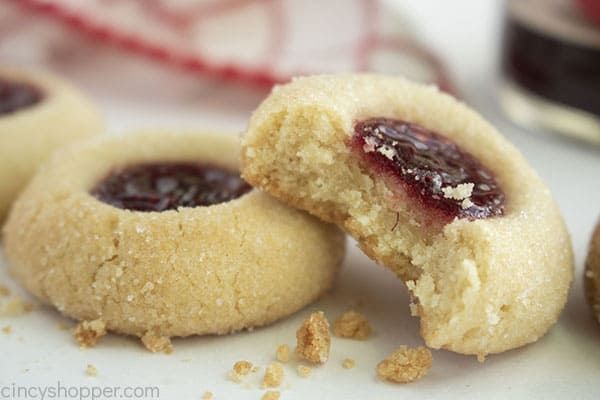

Thumbprint Cookies
Ingredients
- 1 cup Butter softened
- 3/4 cup Sugar divided
- 1/3 cup Brown Sugar
- 1 Egg Yolk
- 3/4 tsp Vanilla
- 2 1/4 cup Flour
- 2 tsp Cornstarch
- 1/2 tsp Salt
- 1/3 cup Raspberry Preserves
Instructions
- Cream butter, brown sugar, and 1/3 cup of sugar together with an electric hand mixer in a large bowl.
- Add egg yolk and vanilla extract and beat until blended.
- In a separate bowl, whisk together flour, cornstarch, and salt.
- Gradually add dry ingredients to wet ingredients beating until combined (dough will be pretty dry).
- Chill cookie dough in the freezer for 20 minutes.
- Put remaining sugar in a shallow dish.
- Form cookie dough into tablespoon-sized balls and roll until round.
- Roll in a dish of sugar and place on cookie sheet.
- Use the back of a teaspoon or thumb to make an indent in the center of the cookie. Preheat oven to 375.
- Put preserves in a microwave-safe bowl and heat for 10-15 seconds until easy to stir.
- Spoon jam into indentation until filled.
- Bake for 11 minutes until edges are just beginning to turn golden brown.
- Allow to cool completely on the baking sheet.
Notes
Nutrition



These thumbprint cookies look so cute and tasty! I love how you can fill them with any jam you like. Thanks for sharing and for joining Fiesta Friday party!
Wanted to let you know that I made these to give to our neighbors at Christmas. One of our neighbors came over the next day to tell me they were the best cookies he had ever had and to ask for more. My husband also loved then. Thanks for making me a hit!
Can you please give the ingredients in metric weight?
Can you use jelly’s. I want to try pepper jelly.
For sure, you could add jelly, chocolate, anything you would like. I have never tried the pepper jelly thumbprint but, I bet it would be delicious.
Been trying to find these cookies in the store , but thank you now I’ll make my own from now on.
Hi Lorna! Yes, these from scratch thumbprint cookies are so much better than store-bought. It’s definitely cheaper too. The price of bakery cookies has been insane the past few years. I hope you enjoy them.